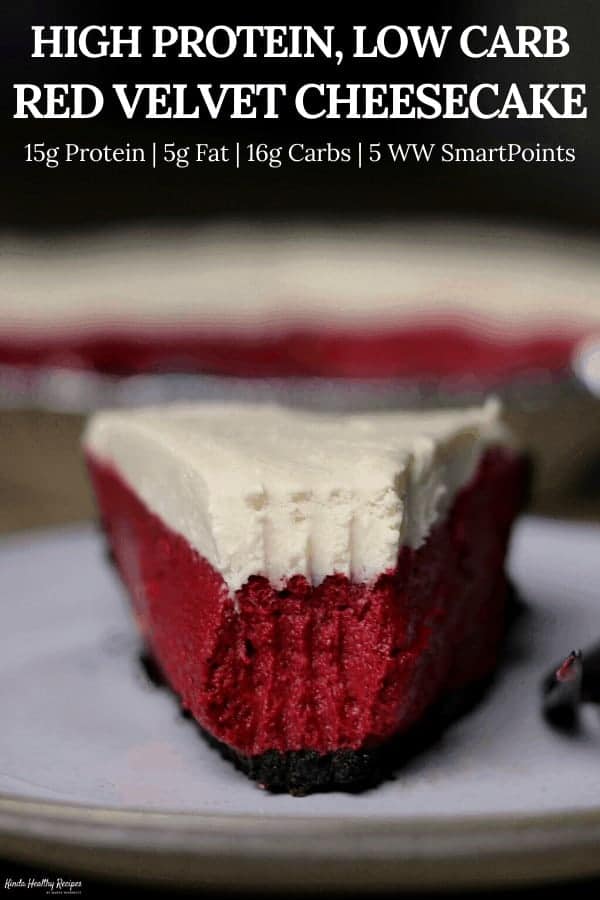
After seeing Jen’s (Baked by an Introvert) Red Velvet Cheesecake, I knew I wanted to put a last minute Valentine’s Day themed recipe together. So that’s what you’re looking at here—a high protein, lower carb spin on her recipe.
My versions cuts a few corners like using a ready made Oreo crust, and it incorporates several macro friendly ingredients like protein powder, canned pumpkin, and zero-calorie sugar substitutes. I think you’re really going to dig this cheesecake so let’s get into it.
Red Velvet Protein Cheesecake Recipe Tutorial
Below you’ll find a step by step walkthrough of the recipe along with ingredient substitution and other modification notes. If you’re a Kinda Healthy Recipes OG and have a good feel for my recipes, jump to the bottom of the post to grab the printable recipe card.
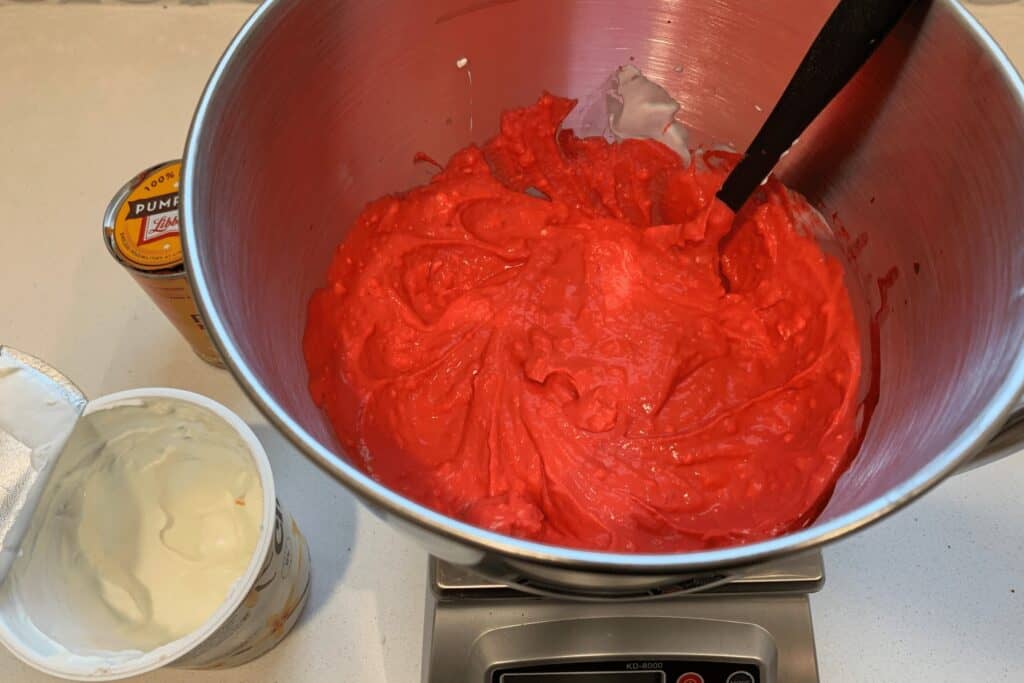
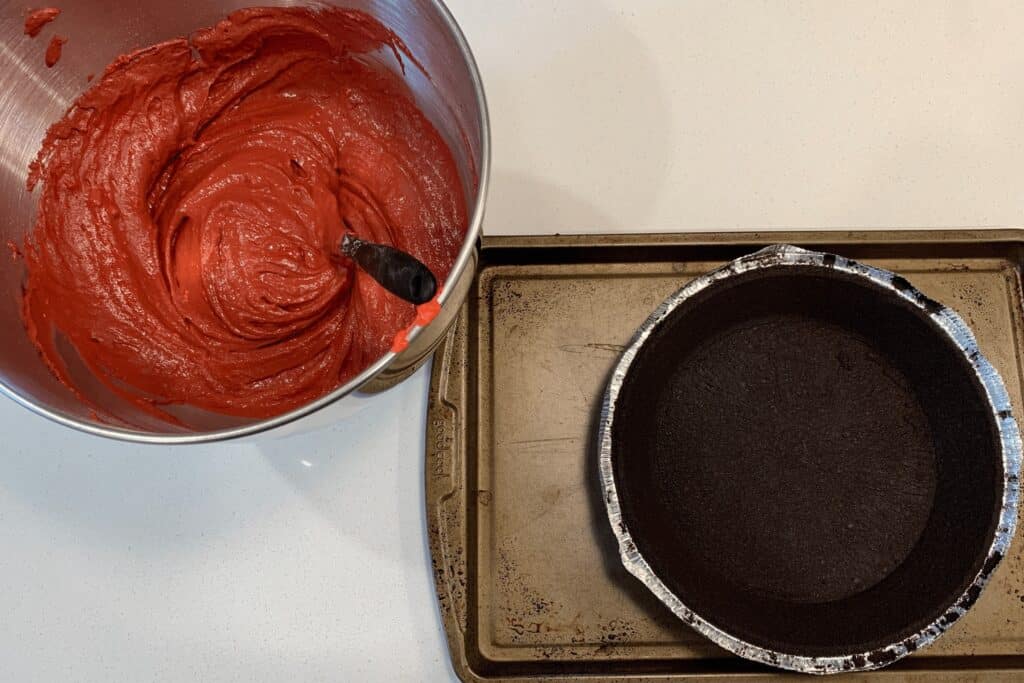
Step 1: Mix Greek yogurt, cream cheese, canned pumpkin, vinegar, and red food color together.
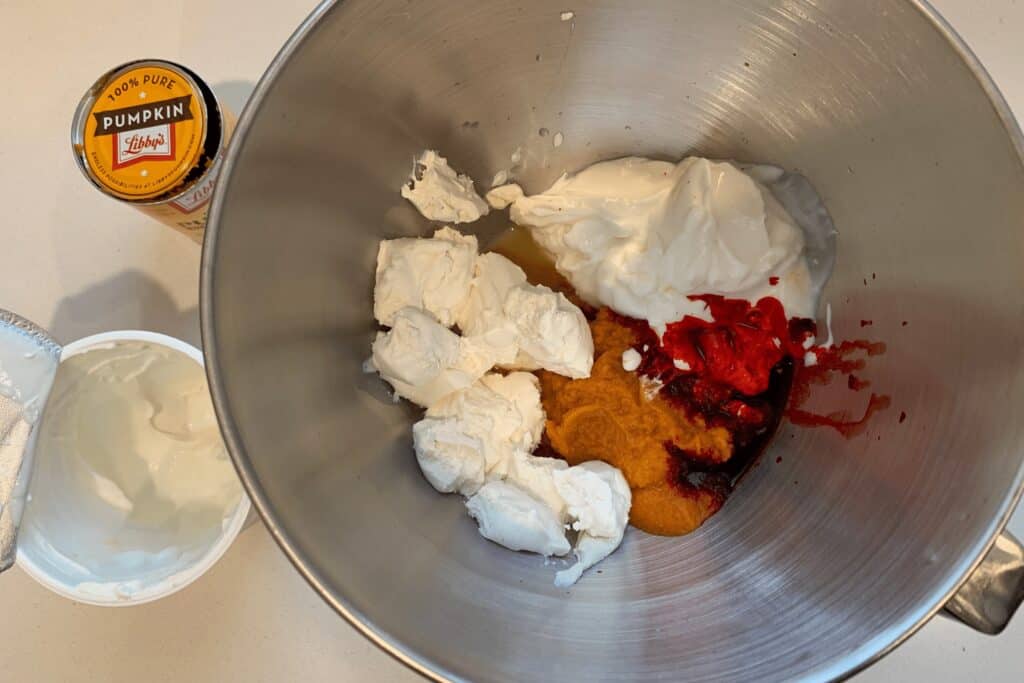
As you can see in the photo above, I used a stand mixer for mixing the cheesecake filling. This makes life easy, but you can certainly use a mixing bowl and spatula or whisk.
Just be sure to get all the lumps out! Ain’t nobody got time for lumpy cheesecake.
One key to getting a smooth filling is starting with cream cheese that’s at room temperature. If you forgot to set your cream cheese out in advance, here’s a way to fast track the process.
How to Soften Cream Cheese in a Hurry
- Use a knife or your hands to break a block of cream cheese into small pieces.
- Add the pieces in a single layer on a microwave-safe plate.
- Heat on 50% power in 20-30 second intervals until the cream cheese is lukewarm to the touch and soft.
Ingredient Notes for Step 1
- Canned Pumpkin: I use pumpkin as a “fat replacement” so the cheesecake is creamy without full fat cream cheese or the fat from eggs. My white chocolate raspberry protein cheesecake, for example, uses a whopping 1/2 cup of melted white chocolate.
- Fat Free Cream Cheese: Use 1/3 fat if you can’t find fat free.
- Greek Yogurt: Part of what makes something red velvet is the presence of acidity. The Greek yogurt and vinegar provide the tang in this recipe. It also provides structure to the cheesecake. Don’t substitute if possible.
- Red Food Color: I have zero experience with making natural food colors, but here’s a recipe for natural food coloring using beets.
I always like to mention, baking can be quite unforgiving when it comes to substitutions. So modify at your own risk!
Step 2: Add cocoa powder, a granulated sugar substitute, and protein powder.
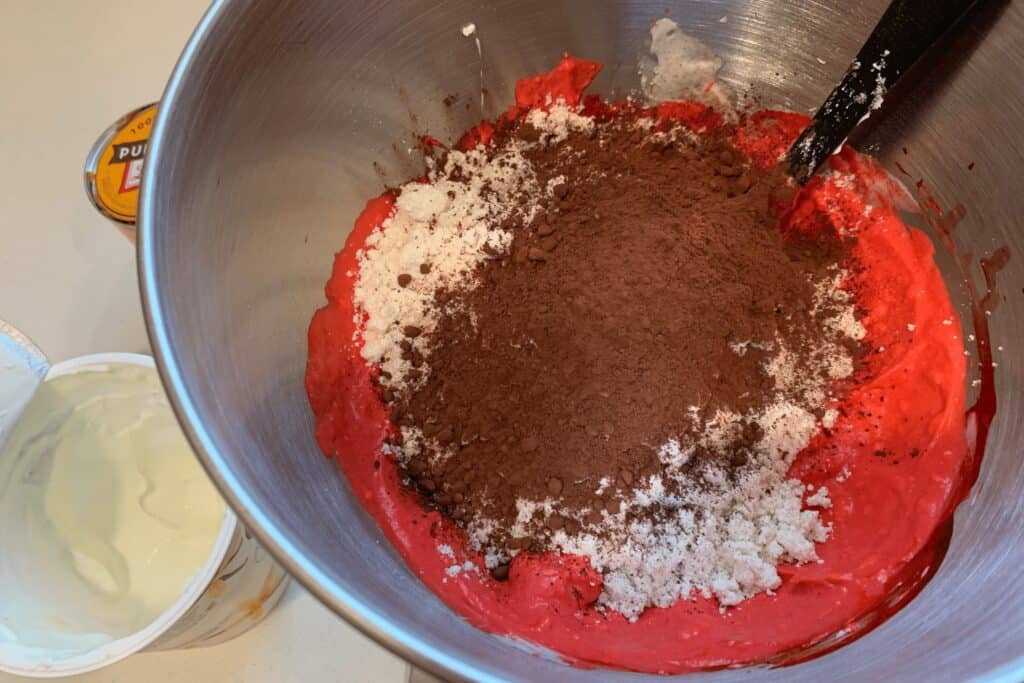
Straightforward enough, right? A tip here, if you’re mixing by hand, might be to mix the dry ingredients in a separate bowl before adding to the cream cheese mixture. That way it’s easier to get even distribution without stirring like crazy.
Ingredient Notes for Step 2
I use vanilla PEScience Select Protein Powder in 95% of my protein recipes. This is a blend of whey and casein. So, if you’re using a whey-only protein you’ll probably need to use more protein to match the consistency you see in the photos below.
If you want to make life easy, you can use my affiliate discount code mason to save 15% on PEScience products. You can even order single serving or 5-serving samples to try this red velvet cheesecake or other recipes like my No Bake Pumpkin Pie Cheesecake or Protein Powder Banana Bread.
What is Swerve?
As for the Swerve granular (and confectioners in the frosting), this is a zero-calorie, erythritol-based sugar substitute. Both measure 1:1 for sugar and powdered sugar, respectively. If you use another sugar substitute, make sure it’s an equal substitute for sugar. Take special notice of the weights provided in the recipe card.
Step 3: Bake an 8″ Oreo pie crust for 5 minutes at 350F before adding the cheesecake mixture and baking another 25 minutes.
In my experience, there’s no great way to make an Oreo crust that’s lower calorie. I’ve tried to mess around with black cocoa and light butter, but the numbers never make the effort worth it. So, the recipe calls for a ready made Oreo crust you can find at Walmart, Target, or even on Amazon.
If you want to make your own Oreo pie crust, you could use the crust portion of Jen’s original recipe!
Why bake it before filling? I do it partially as a germaphobe (they’re not completely sealed by their packaging) and partially because it helps hold up against the moisture of the cheesecake filling.
Step 4: Mix cream cheese, light butter, protein powder, and a powdered sugar substitute together for frosting the baked cheesecake.
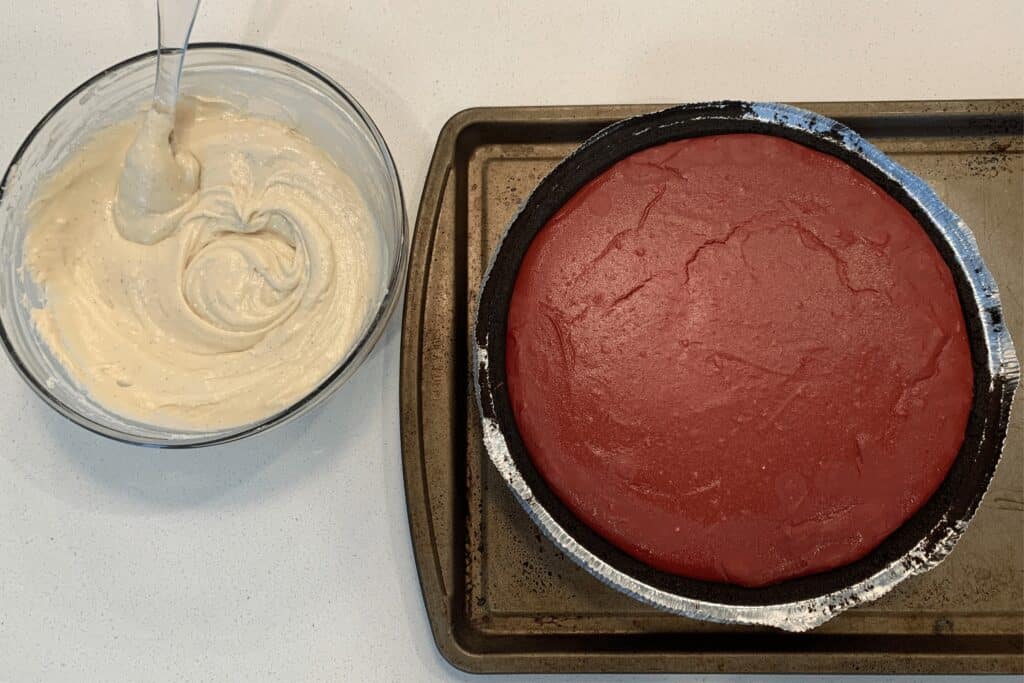
The photo above is a great visual example of what the top of your cheesecake should look like. You can see there are minor cracks around the edges and the top is firm to the touch. Since there are no eggs present, you don’t have to stress about under baking for food safety.
If you accidentally under bake and notice your cheesecake is too wobbly after chilling, you can always freeze it.
The frosting is pretty standard for a cream cheese frosting. Just to reiterate on protein powder differences, if you’re using a different protein, you may need to modify the amount to get the right consistency.
And in case you’re wondering, I use Land O’ Lakes with canola for any “light butter” in my recipes. You may also notice the recipe calls for vanilla bean paste OR extract. I started using vanilla bean paste after my protein sugar cookies and haven’t looked back. The flavor is fairly similar, I just love the vanilla bean flecks.
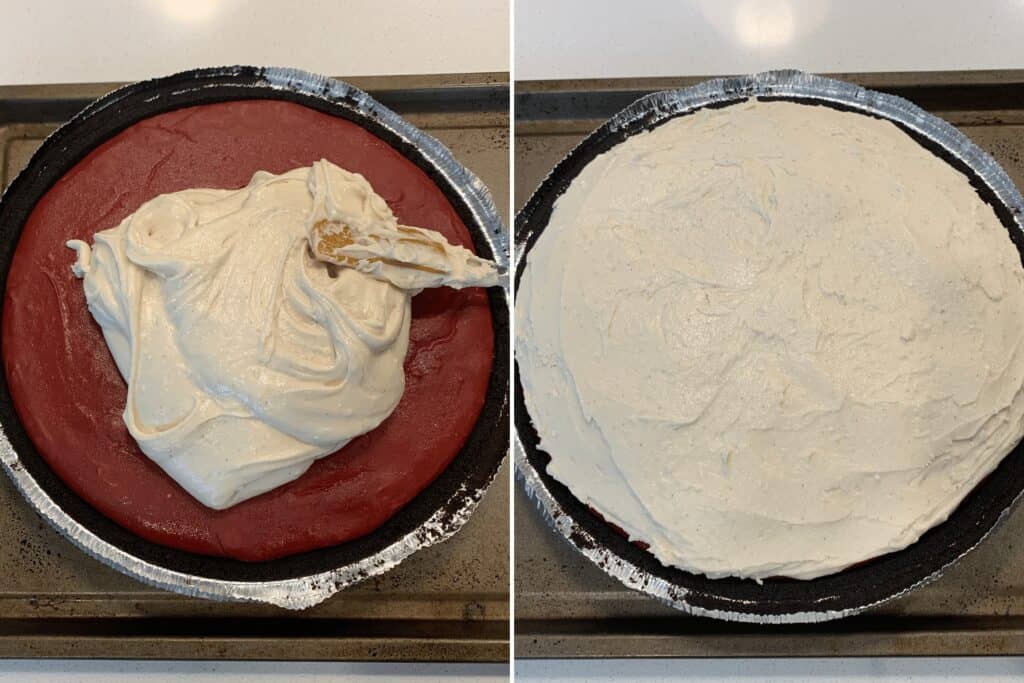
Step 5: Frost the cheesecake and refrigerate.
Whew! You made it.
The only tip I have here is to spread the frosting all the way to the edge of the cheesecake so it comes in contact with the crust’s edge. I find this binds the edge of the crust to the cheesecake and makes slicing and serving easier.
Speaking of serving…
Cheesecake Serving and Storage Notes
Unless you’re feeding a crowd or have lots of fitness friends, this cheesecake will probably last you a while. I’d keep it in the refrigerator for 4-5 days then consider freezing beyond that. The good news, it’s amazing after about 5 minutes of thawing straight from the freezer.

A huge tip I can give for freezing is to slice the cheesecake prior to freezing. This way you can just pop a piece out at a time as opposed to thawing the entire cheesecake or losing a finger trying to slice it while frozen.
And if you want to take it a step further, transfer the slices to a baking sheet lined with parchment paper and leave extra space so they don’t stick to each other.
Okay, that concludes today’s lesson. If you need to know anything else about this Red Velvet Protein Cheesecake, drop a comment below the recipe card or join in my free Facebook group to ask the 12,000+ cooks there!
Red Velvet Protein Cheesecake
Ingredients
For the Cheesecake
- 8 oz Fat Free Cream Cheese, room temp or softened
- 1 C 244g Canned Pumpkin
- 1 C 227g Fat Free Greek Yogurt, vanilla or plain
- 1 Tbsp White Vinegar
- 2 Tbsp Red Food Color
- 3/4 C 144g Swerve Granular (or a granulated sugar substitute)
- 3 scoops, 93g PEScience Select Protein Powder, vanilla
- 1/4 C 20g Unsweetened Dark Cocoa Powder
- 9 " Oreo Pie Crust
For the Frosting
- 4 oz Fat Free Cream Cheese, room temp or softened
- 2 Tbsp 28g Light Butter
- 1/2 tsp Vanilla Bean Paste, or extract
- 1 C 144g Swerve Confectioners (or a powdered sugar substitute)
- 1 scoop, 31g PEScience Select Protein Powder, vanilla
Instructions
- For the Cheesecake
- Preheat oven to 350F and place the Oreo pie crust on a baking sheet. Bake for 5 minutes once the oven is preheated. Set aside.
- Add the cream cheese, pumpkin, Greek yogurt, vinegar, and food color to a large mixing bowl. (I used a stand mixer.) Mix until smooth.
- Add the 3 scoops of protein powder, Swerve granular, and cocoa powder. Mix until smooth.
- Add the mixture to the Oreo pie crust, spreading to its edges in an even layer.
- Bake for 25-30 minutes or until the top layer starts to develop a slight crust (firm to the touch). There should still be some wobble. Remove from the oven to cool.
- For the Frosting
- Mix the cream cheese and light butter together before adding the Swerve confectioners and 1 scoop of protein powder. Mix until no lumps remain.
- Add the frosting to the cheesecake once it's cooled for a few minutes.
- Refrigerate the cheesecake for at least 4 hours (overnight is ideal). Refrigerate the leftover cheesecake or slice and freeze to extend its shelf life.
Notes
Nutrition Facts Notes
- Each slice of cheesecake has 5 WW SmartPoints (blue plan).
- With 1/3 fat cream cheese (per slice): 205 calories, 13g protein, 16g carbs, 11g fat, 7 WW SmartPoints (blue plan)
- Nutrition facts do not include any carb content from the zero-calorie Swerve sweeteners.
- Nutrition facts are estimates, and I always recommend calculating your own nutrition information with the ingredients you use.


Amazing cheesecake recipe that even I can handle. The recipe looks harder than it is. Baking is not my strong suit so it’s always great to use it! And I get to use my poor underutilized stand mixer
So I’ve made these a few times and it was a hit at a party. I’ve made with and without red dye. You don’t need the dye it’s just for aesthetics. But either way it’s a great macro friendly dessert. I eat by myself so I precut and weight my slices and throw them in the freezer. I’m not sure how long they last but mine are gone within a couple weeks lol 😂
So I’ve made these a few times and it was a hit at a party. I’ve made with and without red dye. You don’t need the dye it’s just for aesthetics. But either way it’s a great macro friendly dessert. I eat by myself so I precut and weight my slices and throw them in the freezer. I’m not sure how long they last but mine are gone within a couple weeks lol 😂 I like to eat this instead of drinking my promote. Eat your protein don’t drink it! Thanks mason for all the proteins filled foods!
Hi! I am getting ready to make this for the first time — since I couldn’t find FF cream cheese, I bought 50% less fat, so I calculated all the macros from scratch. I am getting 39 (!) carb, 9 fat and 13 protein. I double checked all entries and the serving size (1/12)…..has this happened to anyone? Are you not counting the Swerve carbs?
Correct. There’s a note in the nutrition facts section about the Swerve carbs. Erythritol has around 0.2 calories per gram so I just skip it when tracking. Feel free to include it in your numbers, though.
SUCH a great cheesecake! Everyone in my family loved it and has loved it every time I’ve made it!