
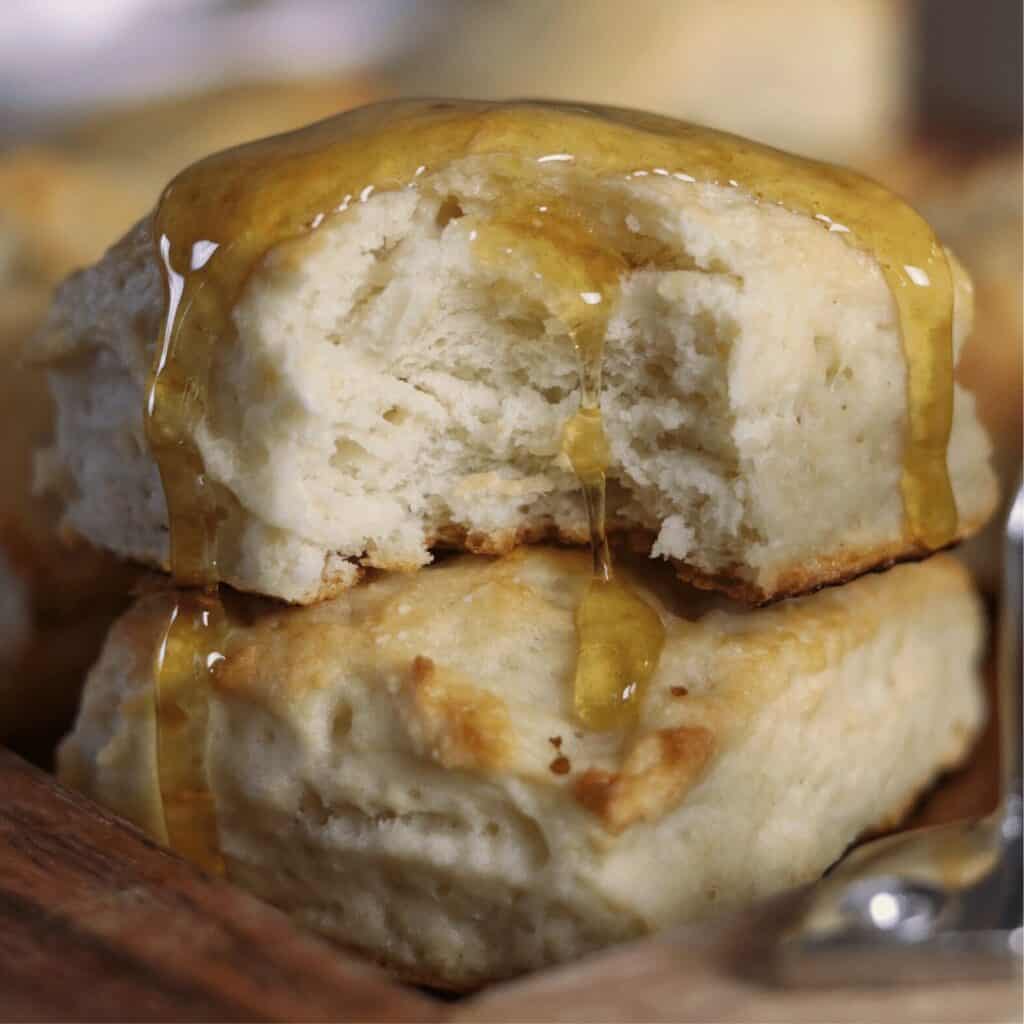
These low calorie Greek yogurt biscuits deliver the same buttery, fluffy biscuits we all love with about 75% less fat than traditional buttermilk biscuits. You’ll only need six ingredients and about 10 minutes for prep, leaving you with just the right amount of time to whip up some yummy biscuit pairings.
Greek Yogurt Biscuits Recipe Walkthrough
I’ll quickly show you how to make the biscuits and touch on ingredient modifications along the way. If you’re feeling confident, you can find a printable recipe card at the bottom of this post.
Step 1: Mix all purpose flour, baking powder, kosher salt, and a granulated sugar substitute together.
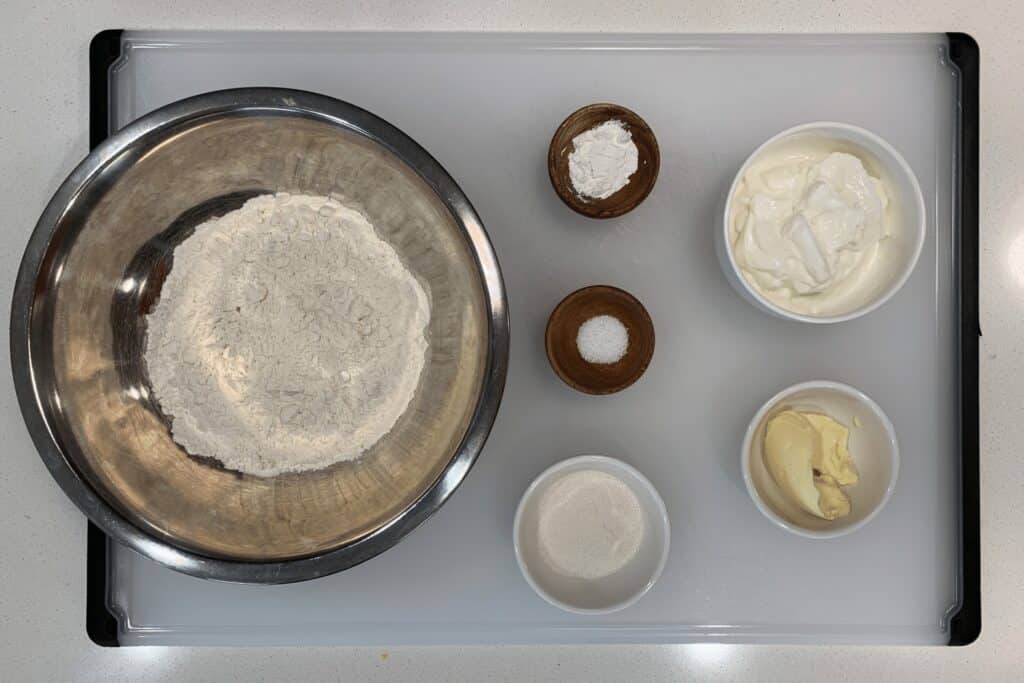
The biggest tip I can give you in this step is to take special note of the differences in baking powder and kosher salt. The recipe calls for 1/2 tablespoon of baking powder and 1/2 teaspoon of salt. Be sure to get that right!
Can I use almond flour or other flours?
I tested a lot of variations but didn’t try any other flours initially. I’ve tried using almond flour in something like my 2-ingredient pizza dough without tons of success.
Update: Some readers have reported mixed results with a 1:1 Gluten Free flour but not much success with other flours.
Do I have to add the sugar substitute?
Yes. Not only is it there for flavor, the sugar will do some sciencey stuff to minimize gluten formation and keep your Greek yogurt biscuits from turning into rocks.
Make sure you use a sugar substitute that works 1:1 for granulated sugar. If you don’t have anything on hand, use real sugar. It’s only two tablespoons!
Step 2: Cut the butter into the dry ingredients with a fork.

Feel free to use a stand mixer or even a food processor to make your biscuit dough. Just be sure to avoid over mixing! Though I think it’s worth mentioning a fork and mixing bowl really does the job best here.
Can I use real butter?
Almost always.
And in case you’re wondering, I use Land O’ Lakes light butter in all my recipes that call for light butter.
Step 3: Add fat free Greek yogurt and stir until large clumps begin to form.
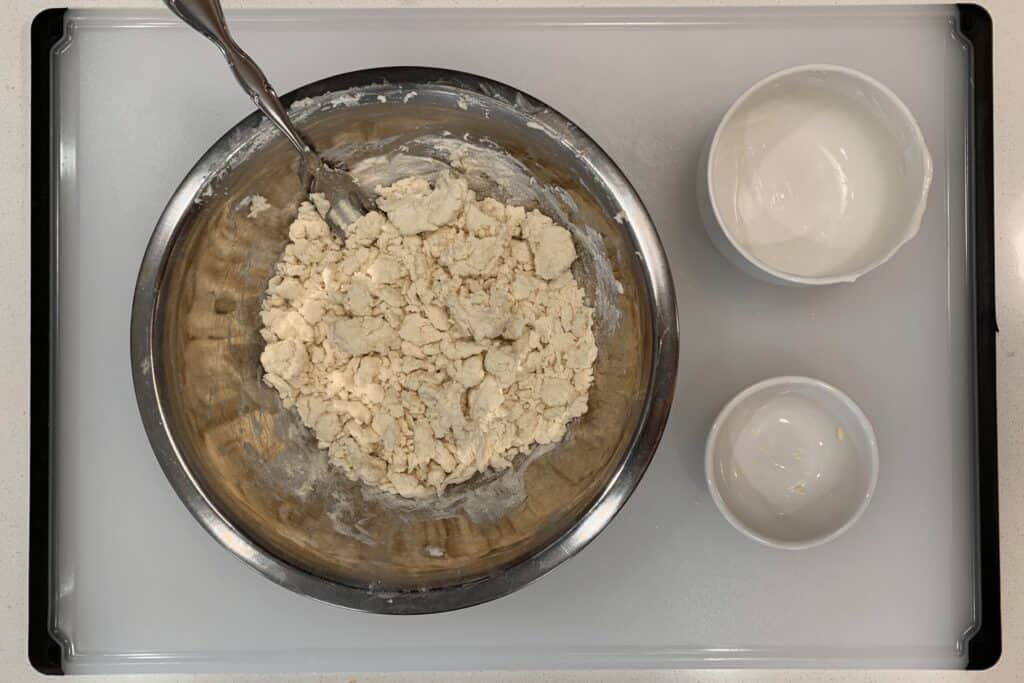
Important: There should be some dry ingredients remaining. If you mix it all the way, there’s a good chance you’ll over mix the dough and have flat or tough biscuits.
If you’re using a food processor, 2-3 pulses will do the trick. And a stand mixer will probably take 5-10 seconds on a low setting.
Step 4: Transfer the mixture to a flat surface and use your hands to form the biscuit dough.
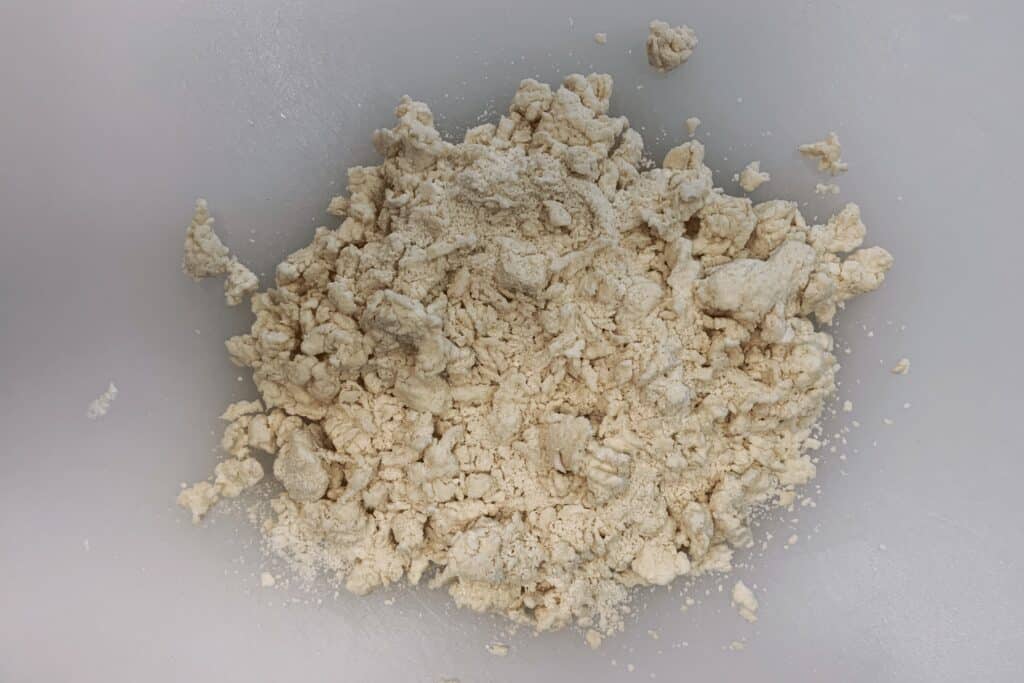
The photo above is a great example of the dry flour remaining in the dough mixture. You can use your hands to bring everything together in just a few seconds.
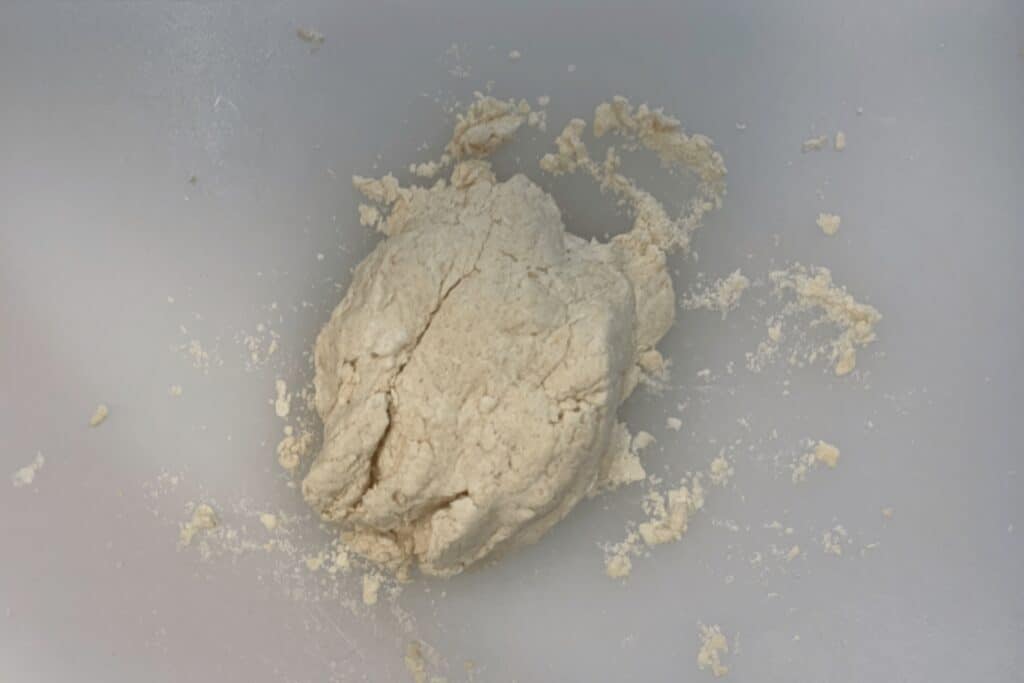
Use the ball of dough to pick up any remaining dry ingredients on the board and be sure to work it into the dough before pressing and cutting.
Step 5: Press the biscuit dough into a rectangle and cut into 6 pieces.
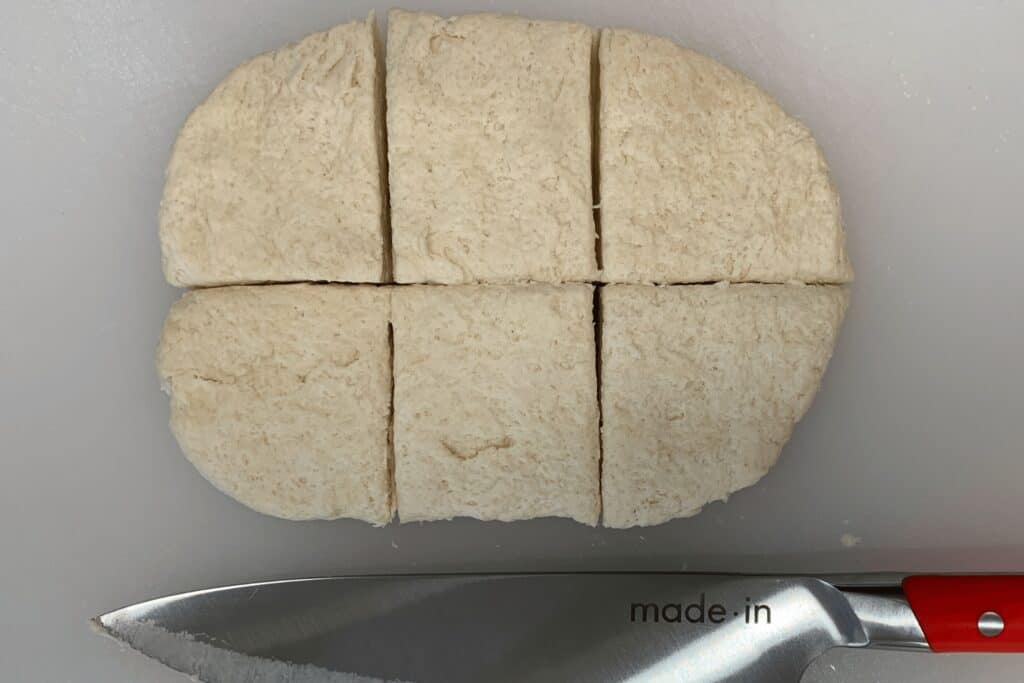
The photo above shows the biscuit dough pressed out next to an 8″ knife. As for the thickness, I’d say 3/4″ to 1/2″ should be about right. It’s probably better to have tall biscuits that are a bit more narrow than wide, flat biscuits.
Why square biscuits?
It saves time and means you don’t have to handle the dough even more to create 1-2 extra biscuits from leftovers after cutting circular biscuits. A low fat dough like this can be unforgiving.
That said, it can be done! (I made circular biscuits for my chicken breakfast sausage patties and chicken sausage gravy pictured below.)

Glad we could square that away.
Step 6 (optional): Brush the biscuits with your choice of wash before baking.
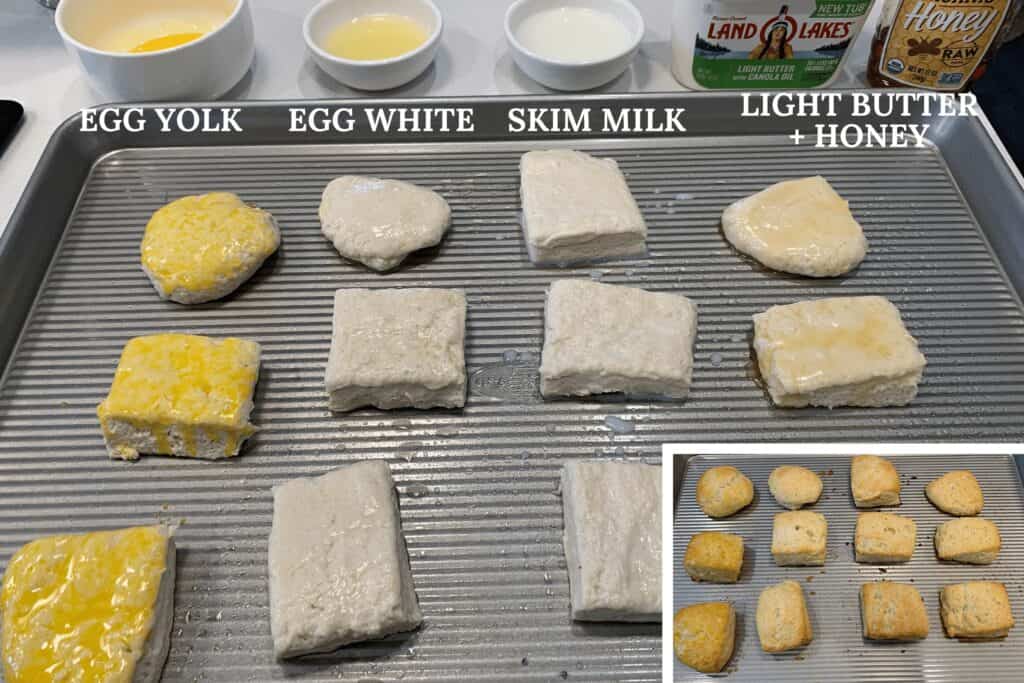
Brushing the tops is totally optional, but your biscuits will be a bit pale without it. The photo above shows before and afters for different alternatives to a classic egg wash. The original recipe called for an egg yolk wash, but I think skim milk or honey + light butter might be my favorites. Oil or oil spray are also solid options.
Step 7: Bake for 20-25 minutes.
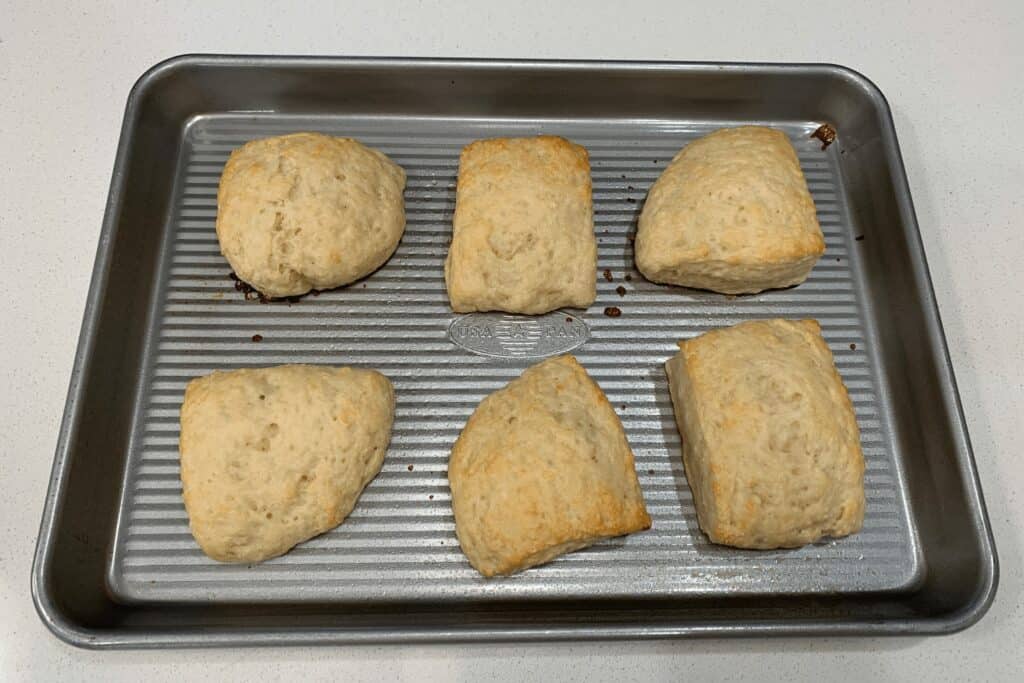
Your biscuits should be golden brown around the edges and on the bottom. I tested what would happen to over baked biscuits, and they hold up really well even when baked beyond the 20-25 minute mark. So don’t be afraid to leave them in a few extra minutes if your tops aren’t quite as golden brown as you’d like!
Can I air fry these biscuits?
Probably so, but you may need to scale the recipe down slightly to fit them all in your air fryer.
My air fryer breakfast pizza uses a slightly scaled version of this recipe and cooks at 375ºF for around 15 minutes. And my not-so-healthy air fryer biscuits from scratch cook for 10-12 minutes at 375ºF. So that should give you an idea for a time and temperature range.
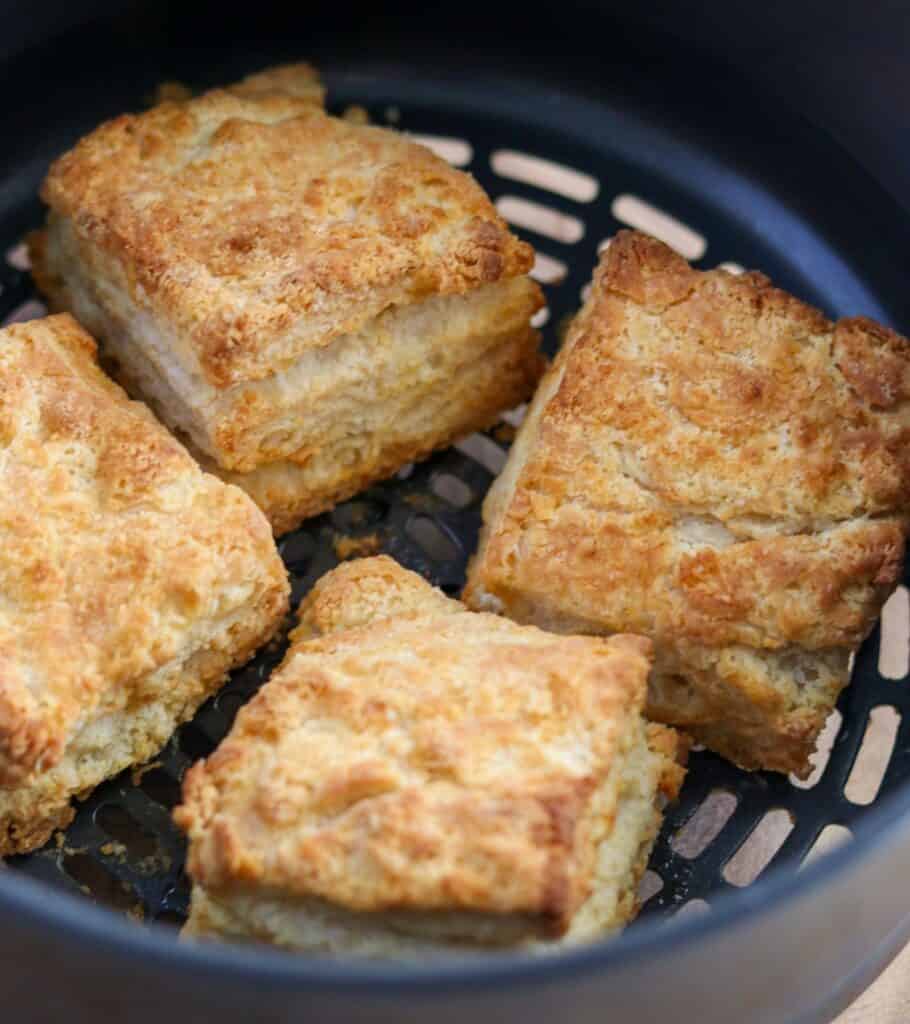
If you’re using a Ninja Foodi or Instant Pot Duo Crisp air fryer basket, you’ll probably only fit 4 biscuits. You can air fry in batches or scale the recipe down to make the right amount of dough.
Serving Healthy Biscuits, Make Ahead Frozen Biscuits, and Final Recipe Notes
If you need a protein option to pair with your biscuits, check out the folded eggs from my homemade McGriddles recipe or hot honey oven baked chicken for chicken biscuits.
You can also cook up some eggs or egg whites. I filled a 10″ x 6″ ceramic baking dish with 1 1/2 C (368g) of liquid egg whites with salt and pepper and baked at 375F for 30 minutes to make perfectly sized egg white squares for make ahead biscuits.
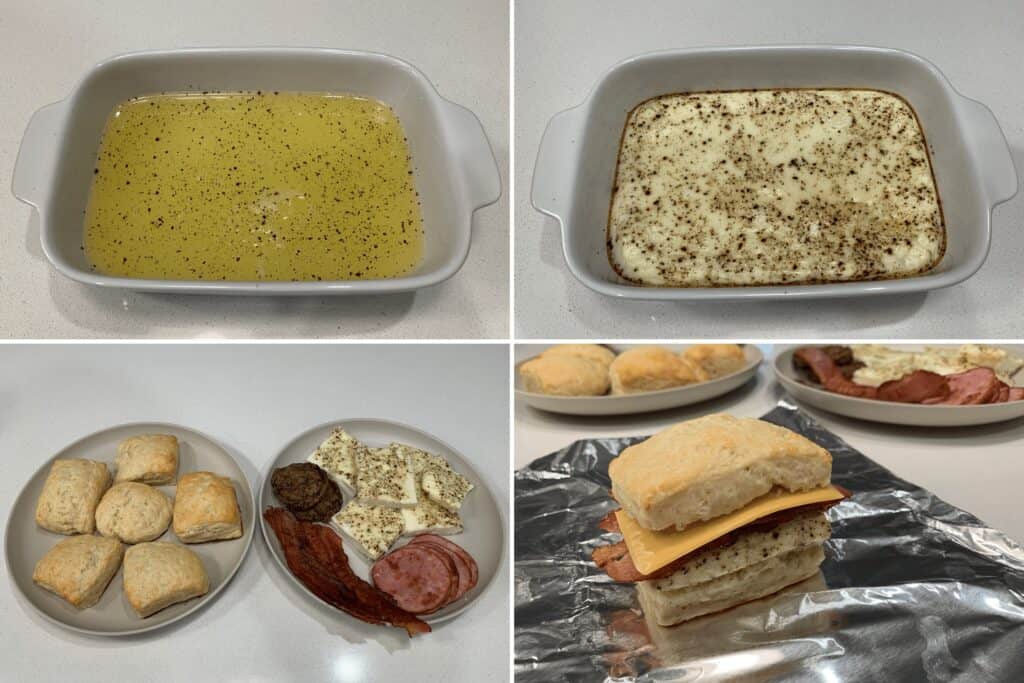
Cut the egg whites into squares, top with your meat of choice, a bit of cheese, and wrap in foil or cling wrap to freeze for later. To reheat, wrap a biscuit in a paper towel and microwave for 60 seconds on 50% power followed by 60 seconds on full power. You could also use an oven or air fryer.
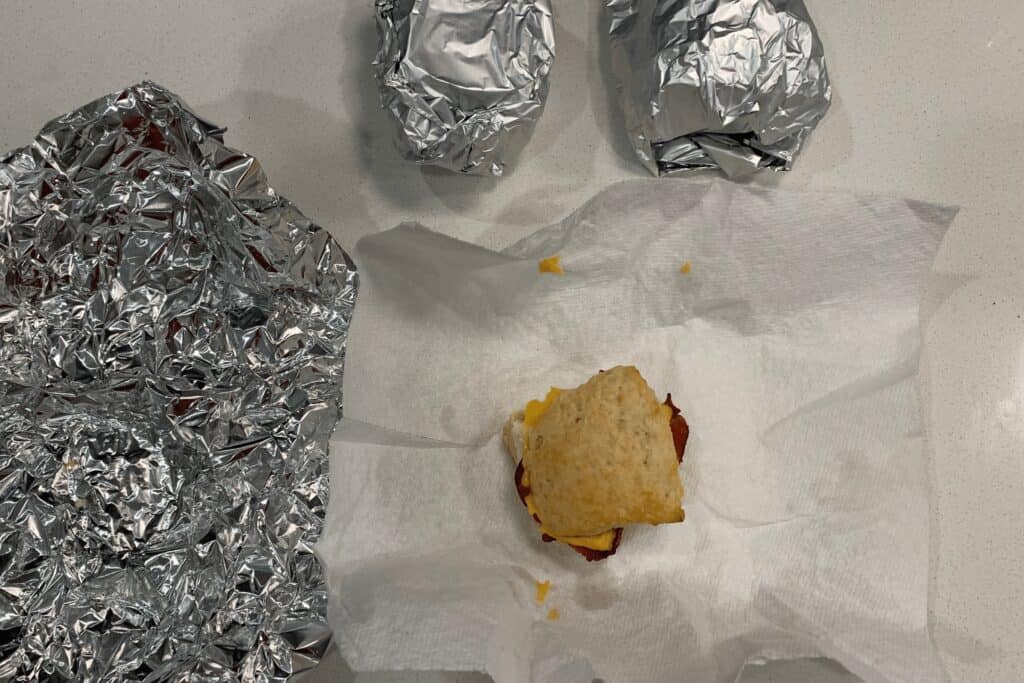
And don’t forget the folded eggs from the McGriddles I mentioned above.
Recipe Troubleshooting
The video tutorial in the recipe card below will walk you through the recipe from start to finish. So if you’re having trouble, be sure to give that a watch!
And that’s the way the biscuit crumbles. When you try these biscuits, feel free to let me know they’re some of the best healthy biscuits you’ve ever tried on Instagram @mason_woodruff or in my free Facebook group.

Greek Yogurt Biscuits

Ingredients
- 1 1/2 C 180g All Purpose Flour
- 2 Tbsp 24g Granulated Sugar Substitute*
- 1/2 Tbsp Baking Powder
- 1/2 tsp Kosher Salt, or 1/4 tsp table salt
- 3/4 C 170g Fat Free Greek Yogurt
- 2 Tbsp 28g Light Butter**
- 1 Egg Yolk, for brushing***
Instructions
- Preheat oven to 375F and spray a baking sheet with cooking spray. Set aside.
- Mix the dry ingredients together in a large bowl before cutting the butter in with a fork.
- Add the Greek yogurt and mix until a dough begins to form. Don’t over mix. There should be some remaining flour in the bowl.
- Empty the dough and remaining dry ingredients onto a flat surface. Use your hands to work everything together until no crumbs remain.
- Press the dough into a rectangle before cutting the dough into 6 pieces.
- Brush the 6 pieces with an egg yolk (or other options from the notes) and add to the baking sheet. Bake for 25-30 minutes or until the biscuits have risen and their tops are golden brown.
Notes
Nutrition Information Notes
Recipe option 2 for slightly fluffier, butterier (that’s a word) biscuits:
Nutrition
Other Ways to Use This Greek Yogurt Dough
If you love these biscuits, you can repurpose the recipe to make all kinds of things. Here are two recipes to get you started:




My husband absolutely loved these biscuits! He was so sad everyday when his sandwich was gone. These have been requested to be a staple in our house.
I make these once a week. They taste amazing and are versatile. I use them for sandwiches, breakfast sides, or by themselves. My favorite way to eat them is with jam or honey. If you choose to use real butter, then you can really taste the difference.
I just made these (for the second time) with Carbquik and they came out great. Love em😊
I use this recipe ALL the time.. I’ve used it as a ‘side dish’ with chili, I’ve used it as a vehicle for breakfast sandwiches and I’ve made it into a strawberry shortcake dessert. All of them turned out wonderfully and I would highly recommend people get creative with this one!
I’ve always been the gal to grab a pack of biscuits you throw in the oven. Nothing wrong with that, but I’ll be lying if I didn’t say I was a bit nervous trying this. Followed the recipe to a T (used the honey/butter topping) and wow! These were pretty good. They paired perfectly with the chicken sausage gravy (check that one out too, seriously). The biscuits didn’t get soggy with the gravy on top either which was a huge plus. Definitely making these again – perhaps as a breakfast sandwich next time!
3 stars. Not sure what I did wrong but these didn’t turn out the best :/ they didn’t rise much and weren’t fluffy. I’m going to try to make it again and hopefully my results will be better the second time around.
The most common culprits of flat biscuits are old baking powder (opened for more than 3 months) or overworking the dough. Or if you use a biscuit cutter instead of a knife and twist as you cut them out, that can seal the edges and prevent rising as well. Better luck next time!
So, I was definitely a little skeptical that these would be good. Decided to give it a shot anyway and I am so glad I did because they really turned out so good. I made healthy, little strawberry shortcakes with the biscuits! Even my husband & my picky 10 year old loved them. I’ll have to try them again but instead I’ll be making the breakfast sandwiches!
I’ll be honest I was a bit skeptical of these because I’ve never made my own biscuits before, but I may never buy biscuits again. These are so easy to whip up and they are so good! I love that your recipes share common ingredients because I usually have the ingredients on hand and can try something new when you post! I’ve never been disappointed 🙂
I rarely leave comments on recipes, but wow. These were awesome and SO EASY! 10/10 will make again
Thanks, Lacey! I’m a big fan of these, too. 😉
These are the most amazing biscuits ever! I didn’t have plain Greek yogurt and subbed for vanilla Greek yogurt and they were so good! So now I do 50/50 for some sweetness and opt out the sweetener! They’re perfect with chili or as a desert base 😋 BRB going to make some more