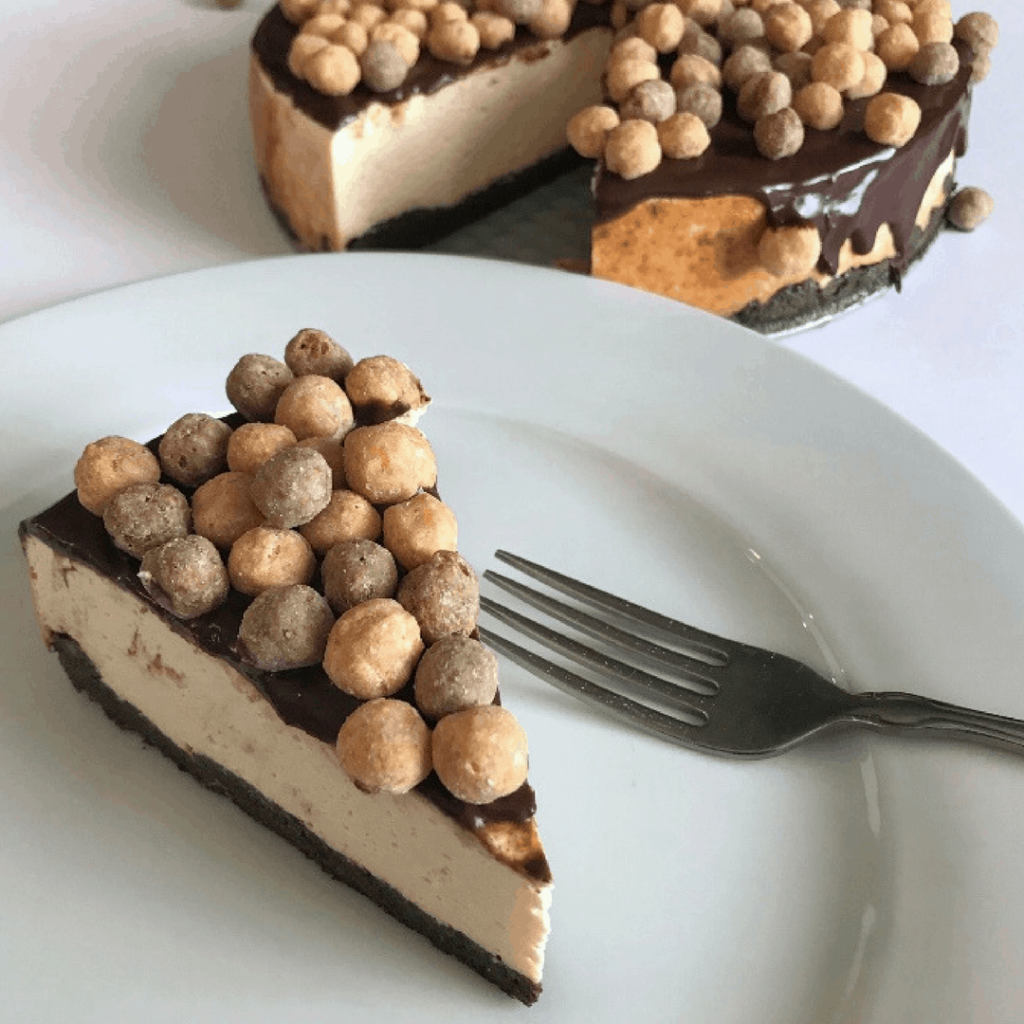
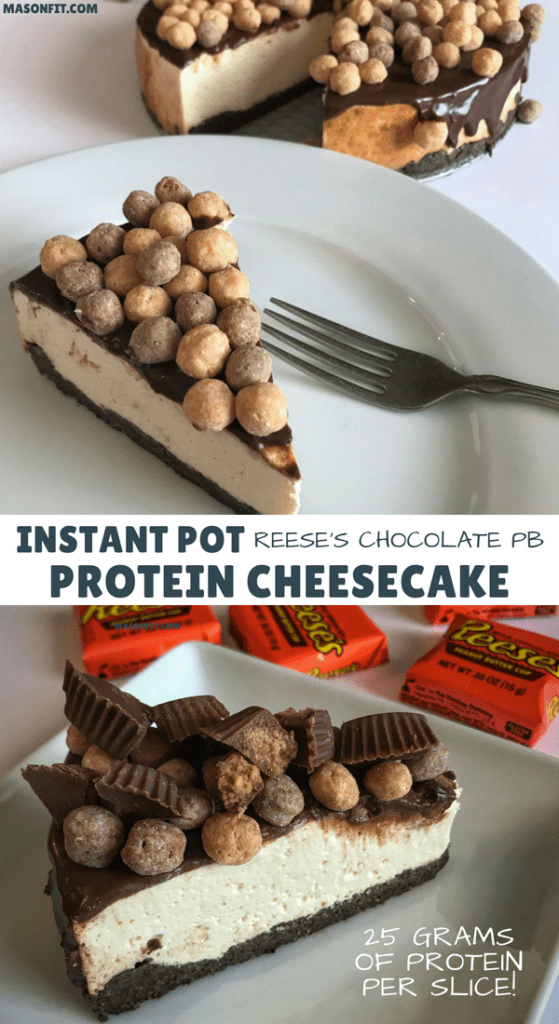
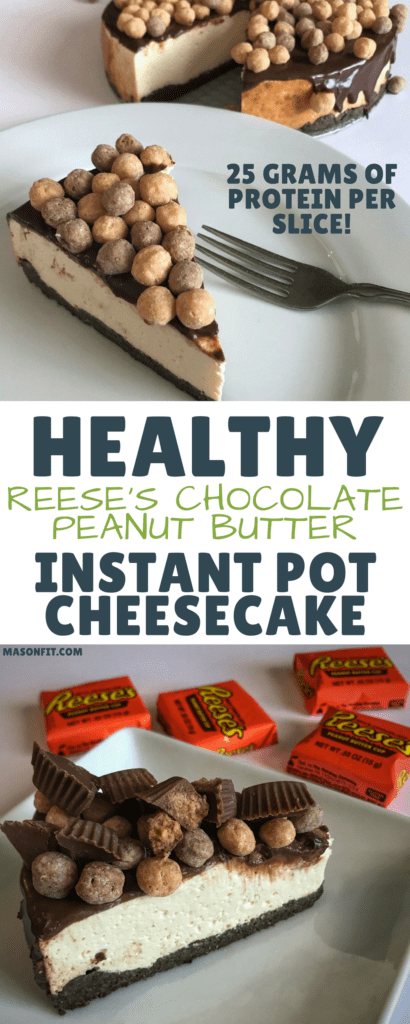
After the Cap’n Crunch Berries Protein Donuts, I wanted to keep the cereal train rolling. It’s a widely known fact that no cereal holds a flame to the Cap’n. But if there were a cereal to come close, it would be Reese’s Puffs. That’s why I decided to put the delicious puffed balls of chocolate and peanut butter into another healthy instant pot cheesecake.
I say another because I recently made white chocolate strawberry and double chocolate instant pot cheesecakes in my first foray into pressure cooked desserts. They were a big hit, and it only makes sense to continue exploring the possibilities of quick and easy cheesecakes.
Oh and if you stumbled upon this recipe and don’t have an Instant Pot, you’ll find notes on how to make it in the oven within the recipe notes.
Healthy Instant Pot Cheesecake Nutrition Facts
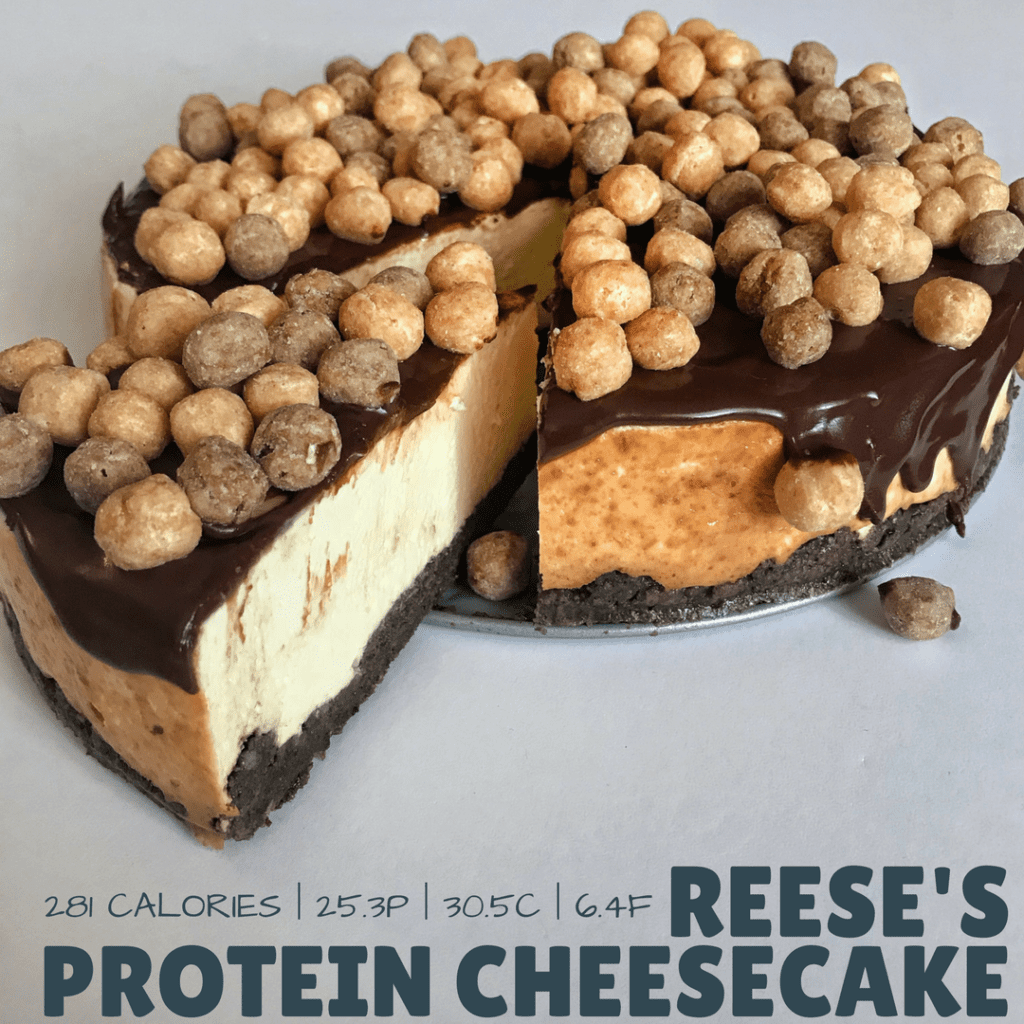
I always like to make the disclaimer that I’m using the word healthy as an indicator of a recipe having fewer calories than a traditional version. In this case, my Reese’s Instant Pot cheesecake only has 281 calories per slice with 25 grams of protein. When you compare those stats to that of a regular piece of chocolate peanut butter cheesecake, you’d be impressed.
Below you’ll see the nutrition facts for 1/8 slice of the cheesecake. I’ve also included the information with 1/3 fat cream cheese instead of fat-free cream cheese in case you have trouble finding it, but we’ll talk more about ingredients in a second.
- Per 1/8 slice with toppings: 281 Calories, 25.3 grams of protein, 30.5 grams of carbs, and 6.4 grams of fat
- Per 1/8 slice with 1/3 fat cream cheese and toppings: 338 Calories, 21.8 grams of protein, 28.8 grams of carbs, and 15.1 grams of fat
Reese’s Healthy INSTANT POT CHEESECAKE Ingredients
Since the base of the cheesecake will be the same as I used for my White Chocolate Strawberry and Double Chocolate Instant Pot Cheesecakes, some of the following may be a repeat if you’ve tried those versions.
Like I mentioned above in the nutrition facts section, I know some have trouble finding fat-free cream cheese in certain areas. So if you want to make this recipe with 1/3 fat cream cheese instead, that’s perfectly fine. It will add 60 calories per slice, but that’s not the end of the world.
This brings up another interesting point. I want you to love my recipes. If this is your first foray into making a healthier cheesecake, I would rather you use the 1/3 fat cream cheese and transition to fat-free. To me, the differences are tiny, but I’m accustomed to eating high protein desserts. For only 60 extra calories, I can almost guarantee you’ll love this Instant Pot cheesecake with 1/3 fat cream cheese. If you decide you’d like to eliminate more calories and make this on the regular, then roll with it. There’s nothing wrong with easing into things!
Outside of the cream cheese discussion, another key ingredient will be Greek yogurt. Most everyone is good in the hood with fat-free Greek yogurt, so I’ll just mention the plain versus vanilla decision. Greek yogurt and its slightly sour taste really contribute to the cheesecake flavor here but if you have an ultra sweet tooth, there’s nothing wrong with using pre-sweetened vanilla Greek yogurt. And if you’re using plain, you can still sweeten your cheesecake with something like stevia or a low-cal sugar alternative (I did).
For the cheesecake crust, we’ll be using crushed Reese’s Puffs cereal, dark cocoa, and PB2 powdered peanut butter. For the butter in the crust, the PB2 will really lend a hand as a faux peanut butter, but the real fat replacement will come from apple sauce. If you’d like a more tender crust, you could always use a bit of light butter or even coconut oil for a bit of sweetness.
BEST PROTEIN POWDER FOR RECIPES
You can use any protein you’d like, but I usually recommend Optimum Nutrition Gold Standard Whey and/or Dymatize’s Whey or Elite XT blended protein. They’re reputable brands that have been around forever.
The macros are with Gold Standard Whey.
If you’d like to learn more about the different types of whey protein and how to find the best value for protein, read this article.
HOW TO MAKE A Healthy INSTANT POT CHEESECAKE
This recipe may look intimidating at first with all the instruction, but it’s really as simple as mixing, pouring, wrapping things in foil, and pressing buttons.
As for equipment, you’ll need a 7″ springform pan and the Instant Pot itself, of course. I used the Lux60 model for this recipe. I believe Instant Pot makes a cheesecake pan especially for use with the Instant Pot, but you’ll be fine thanks to what I like to call the scroll method.
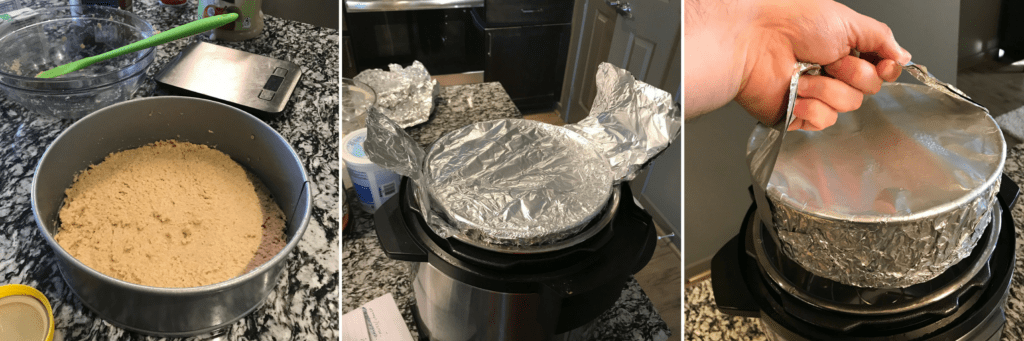
You can see in the image below that it’s going to be a tight squeeze into the Instant Pot. That means attempting to remove your cheesecake from the Instant Pot after cooking when it’s piping hot would lead to certain death or worse.
Have no fear, you can simply fold extra foil to form handles to easily lift the cheesecake out of the Instant Pot.
That’s really about it in terms of technical tips. Others might be:
- Be sure your springform pan is “closed” before adding ingredients.
- Press your crust up around the edges of the pan. You can see the space between crust and pan in the photo above. Use a spatula to really press the crust to the outer edges to ensure no cheesecake leaks through. (Also, this photo has a graham cracker crust from my white chocolate strawberry recipe so don’t think your crust is the wrong color!)
- Freeze crust while making your cheesecake.
- Be careful when removing the cheesecake from the Instant Pot. In the photo above, I’m demonstrating bare-handed after the cheesecake had cooled slightly. Use caution!
- Don’t release the springform pan until your cheesecake has completely cooled after cooking.
- Run a knife around the edges after cooling if needed so you don’t rip the cheesecake in half when releasing the springform pan.
Okay, I’m confident in your ability to make this happen. You’ll find the full recipe below.

Reese's Chocolate Peanut Butter Protein Cheesecake
Ingredients
Crust
- 3 C 116g Reese's Puffs Cereal, crushed or blended, finely
- 1/2 C 122g Unsweetened Apple Sauce
- 2 Tbsp 10g Unsweetened Dark Cocoa Powder
- 1/4 C 24g PB2 or Powdered Peanut Butter
- 1/4 C 60mL Walden Farms Pancake Syrup, or sticky sweetener of your choice
Cheesecake
- 16 oz 452g Fat-Free Cream Cheese, room temp or softened
- 1 C 227g Fat-Free Greek Yogurt, plain or vanilla
- 4 large Eggs
- 2 scoops, 60-64g Protein Powder, vanilla
- 1/4 C Stevia or 0-Cal Sweetener, optional (if you're using vanilla Greek yogurt, you may not need sweetener)
Topping
- 1/4 C 60mL Fat-Free Evaporated Milk
- 2 Tbsp 28g Dark Chocolate Chips
- 1 scoop, 30-32g Protein Powder, vanilla
- 1 Tbsp 5g Unsweetened Dark Cocoa Powder
- 3/4 C 29g Reese's Puffs Cereal
Instructions
- Wrap the bottom of a 7" springform pan with aluminum foil. Be sure it's a single layer and avoid bunching the foil around the sides. Set aside.
- Begin by crushing Reese's Puffs cereal in a food processor or blender to make Reese's flour. Mix this with the cocoa and peanut butter powders. Combine remaining liquid crust ingredients and stir until you have a dough-like mixture.
- Add the crust mixture to the springform pan. Using a rubber spatula or nonstick utensil, spread the crust out evenly across the bottom of the pan. Once you've made your crust, place it in the freezer while you make the cheesecake.
- For the cheesecake, whisk the cream cheese and Greek yogurt together in a large bowl. (You can also use a hand mixer for this step.) Add the eggs in gradually, stirring in one at a time. Finally, add the protein powder and any sweetener should you need it.
- Remove your crust from the freezer and add the cheesecake mixture on top. It should spread on its own, but you can use a spatula or spoon to ensure it's evenly distributed.
- Cover the top of your cheesecake with foil. Again, be sure to not bunch the foil but cover fully.
- Fold another long piece (~2 feet) of foil into a long rectangle or roll it up longways like a scroll, if that helps give a visual. You'll use this as a handle to easily remove the springform pan from the Instant Pot.
- Add 1 C water to the bottom of the Instant Pot and insert rack. Place your "scroll" in the bottom of the Instant Pot on top of the rack, sides sticking out of the Instant Pot. Last but not least, insert the springform pan and cheesecake into the Instant Pot. Fold the ends of the "scroll" down before shutting the lid.
- Cook the cheesecake on manual for 35 minutes with a 10-minute natural release.
- Release the remaining pressure and remove your cheesecake using your handy dandy scroll handles. Be careful, as the handles, pan, and pot will all still be hot.
- The center of your cheesecake should be a bit jiggly but not runny. If this is your first cheesecake, don't worry, it will finish cooking after removing it from the Instant Pot. Be sure to cover again after checking on it.
- Set the cheesecake on a wire rack or on a safe surface to cool to room temp. Once your cheesecake has cooled, place it in the refrigerator for 4+ hours minimum before releasing the springform pan. (Use a knife to separate sides from pan before releasing if needed.)
- Add your desired toppings, slice into 8 pieces, and store in the refrigerator for up to 4-5 days.
- For the topping, heat evaporated milk and chocolate chips in the microwave for 10-15 seconds until you can fully mix the chocolate chips into the milk. Allow the mixture 30-60 seconds to cool before adding the cocoa and protein powder. Stir well and add to the top of the cheesecake once it's cooled. Top with Reese's Puffs cereal when you're ready to eat a slice as the Puffs will get stale in the refrigerator.
Notes
- 1 slice has 7 Smart Points.
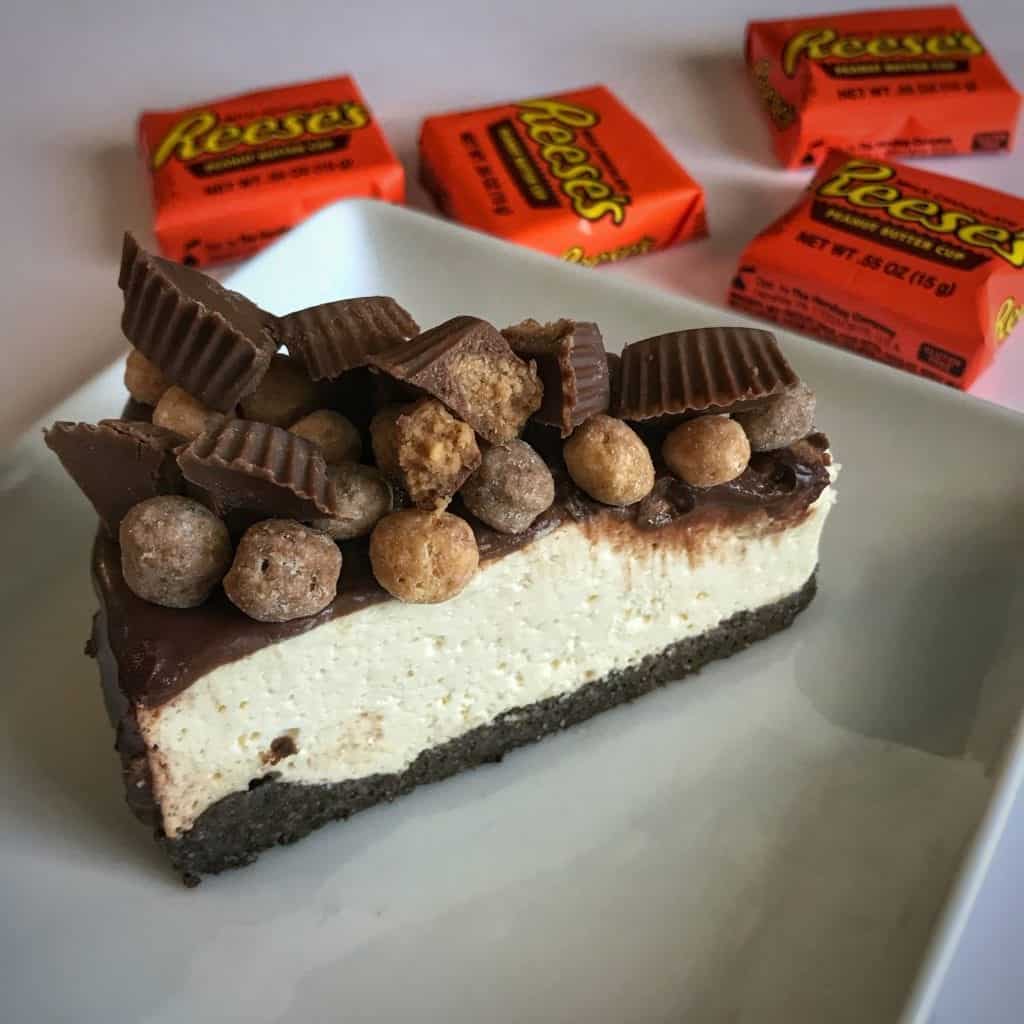
- 1 slice with 1 Reese's Cup added on top: 384 Calories | 27.8P | 42.5C | 13F
- 1 slice with 1/3 fat cream cheese: 338 Calories | 21.8P | 28.8C | 15.1F
- To prepare without an Instant Pot, follow the same instructions but bake in the oven at 350 degrees F for around 45 minutes. Remove and cool to room temp before refrigerating for 4+ hours.
Nutrition
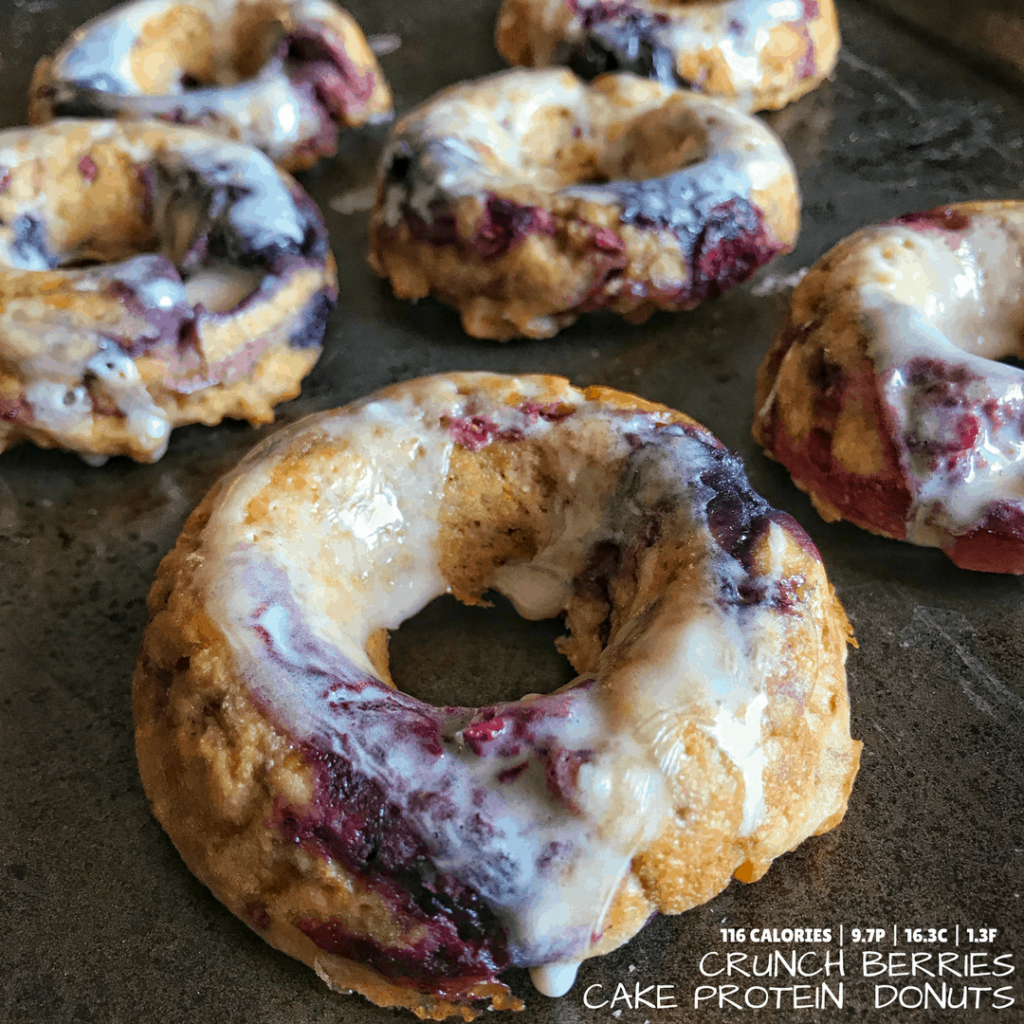
I mentioned my Cap’n Crunch Berries Protein Donuts in the intro so if you haven’t checked those out yet, get on it. They’re super-duper easy to make and pack the greatness of the Cap’n in an easy to transport protein donut with real berries. I mean, antioxidants, helloooo.
And as always, if you try any of my recipes, I want to see your re-creations on Instagram. It lets me know you’re putting healthy recipes into action, and I love sharing your recipes to inspire others.


This dessert was so good and surprisingly not difficult to make! My favorite part, I had a question about cooking time and pan size and Mason got right back to me about it!
10 stars!!
This dessert was so good and surprisingly not difficult to make! My favorite part, I had a question about cooking time and pan size and Mason got right back to me about it!
10 stars!!
Hey there! I have a 3qt Instant Pot – how would this affect the cook time? Thank you! Looking forward to this one!
You might cut the recipe in half, use a smaller cake pan, and cook for a similar time.