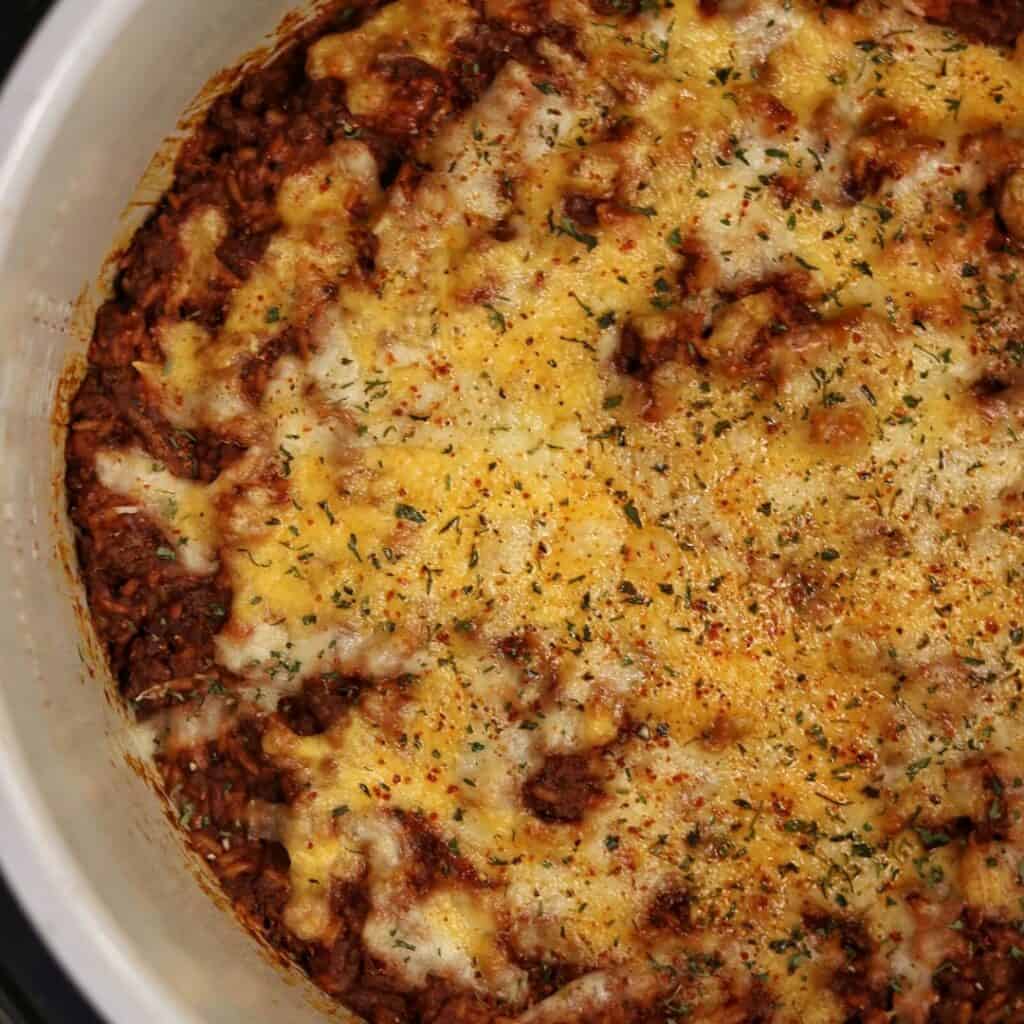
This 25-minute ground beef and rice casserole pairs homemade taco seasoning with ground beef, cilantro lime rice, and melted cheddar cheese for an ultra savory stand-alone dish or filling for burritos, enchiladas, and more. Every serving has 230 calories, 20 grams of protein, 18 grams of carbs, and just 6 WW SmartPoints.
The recipe uses 3 different functions on the Ninja Foodi and is a great way to get to know your Foodi! If you don’t have a Foodi, though, I’ll include notes on preparing with other equipment. You’ll find a visual recipe walkthrough below, and a printable recipe card at the bottom of the post. Let’s go!

Use the sauté function on the Ninja Foodi to cook ground beef with taco seasoning.
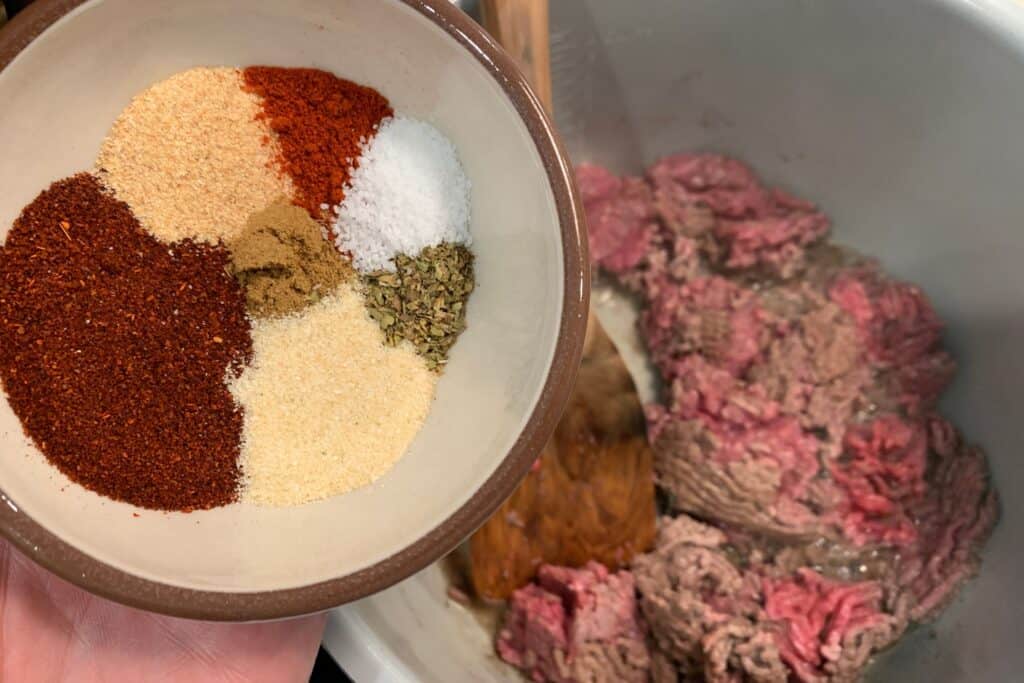
The recipe calls for a blend of spices to make your own taco seasoning but if you want to speed things up, I won’t judge you for using packaged taco seasoning. My high protein taco soup uses packaged, and it might be the most popular recipe on my blog!
Add tomato paste and lime juice to the cooked ground beef.
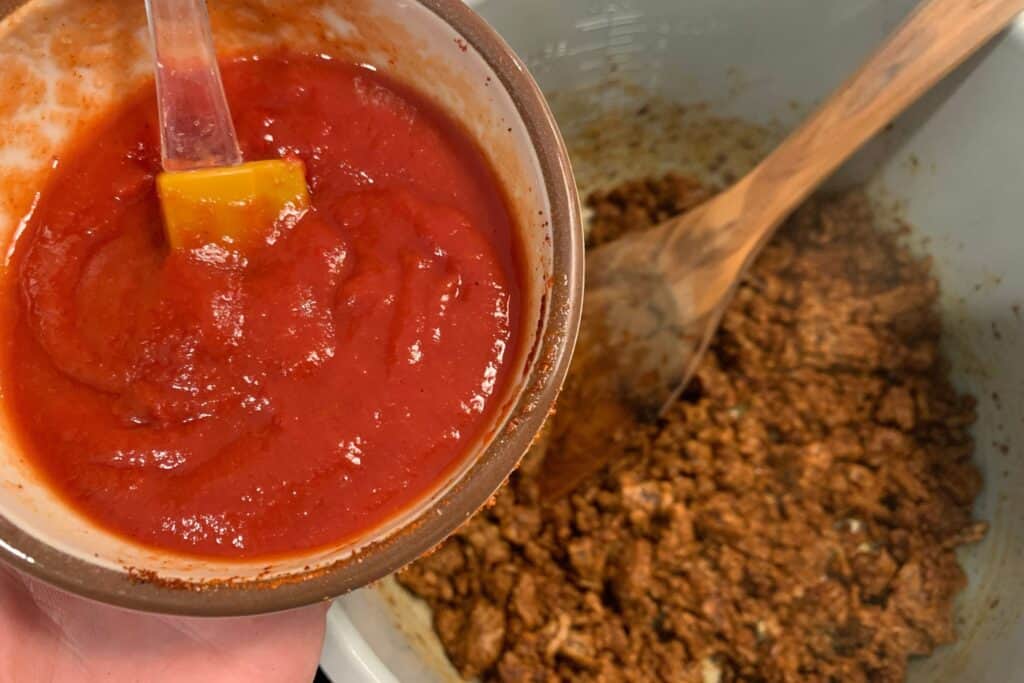
I’ve included notes for tomato paste and lime juice alternatives like salsa or enchilada sauce. If you really wanted to bring the heat, you could throw in some chipotle peppers in adobo like my Ninja Foodi chili mac.
Add chicken broth and rice to the cooked ground beef. Pressure cook for 5 minutes.
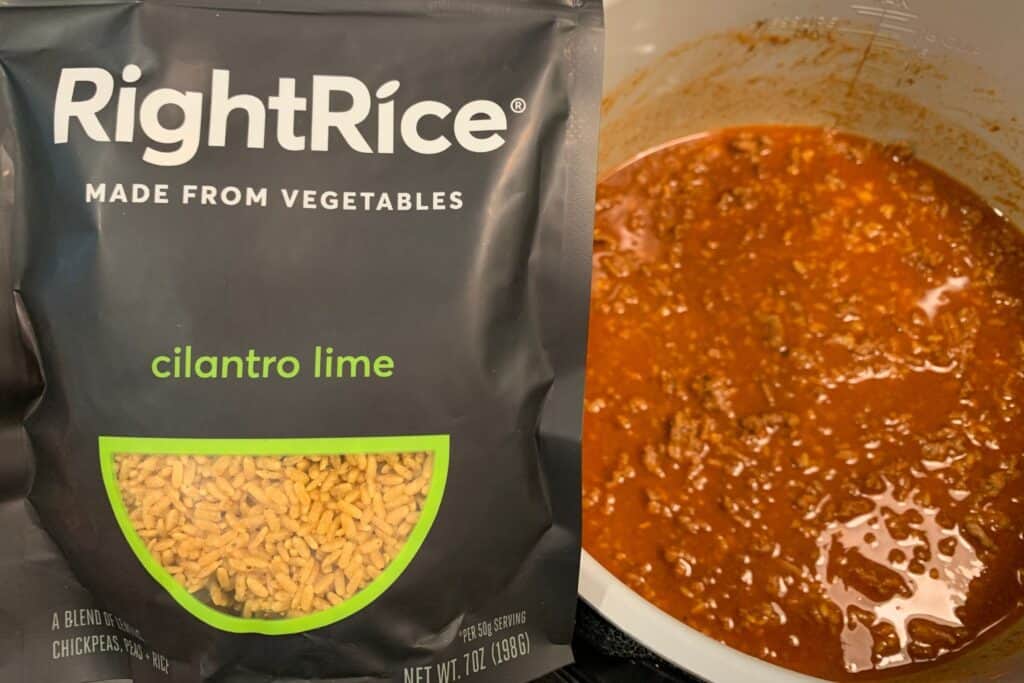
The recipe calls for cilantro lime Right Rice, which is a chickpea and lentil based rice that’s slightly higher in protein. I’m sure you could use instant rice. Just be sure to use equal parts dry rice (about 1 1/3 cup). You could also skip the broth and use pre-cooked rice or even cauliflower rice like in my Tex-Mex ground beef and rice skillet.
If you’re interested in trying Right Rice, you can use their store finder or buy it on Amazon. My go-to pasta replacement, Banza, makes a chickpea rice product, and I’ve used Trader Joe’s Risoni in recipes like my Instant Pot Meatballs and Rice.
Vent the Foodi and stir the rice before adding shredded cheese. Broil for 3-5 minutes.
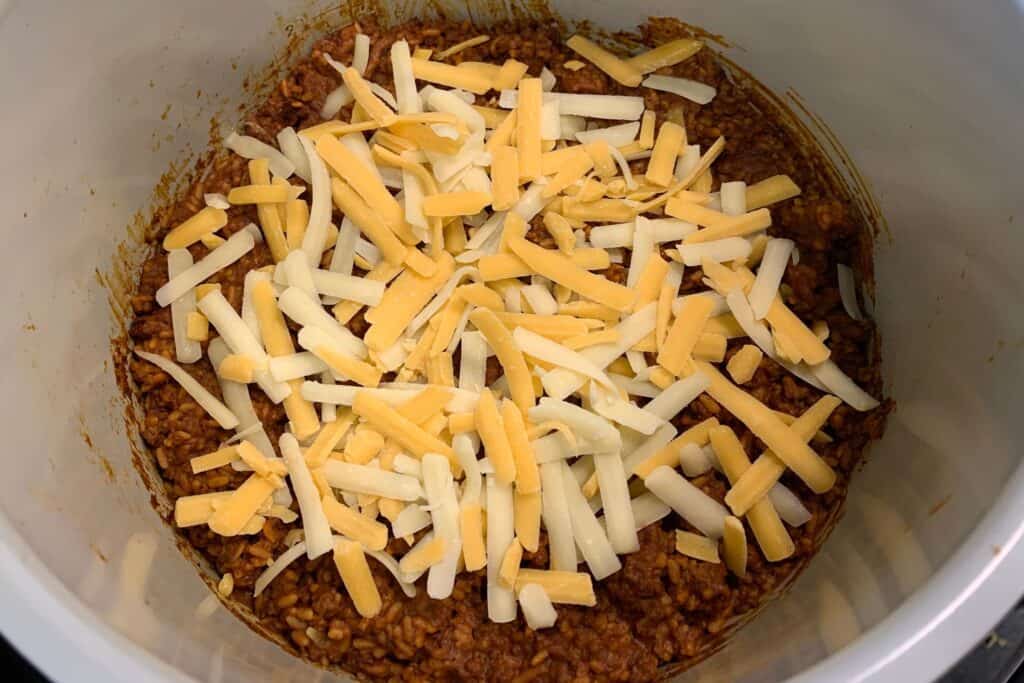
I used pre-shredded cheddar from Tillamook like I used for my Ninja Foodi cheese bread. While it’s always best to grate your own cheese, using a higher quality pre-shredded cheese gets the job done for something like broiling on top of the ground beef and rice in this recipe. Just don’t try something like my Ninja Foodi mac and cheese with the pre-shredded!
If you wanted to an extra component to this recipe, you could transfer half the mixture out of the Foodi to add a layer of corn tortillas. Then you could add the beef and rice back and top with another layer of tortillas and cheese. See my one pan turkey enchilada casserole for an example of this in action.
Ninja Foodi and Equipment Notes
I used the 6.5 quart pressure cooker for this ground beef and rice recipe. If you’re using a different size, cook times may vary slightly.
If you don’t have a Foodi, an Instant Pot should work the same for pressure cooking. You’ll need to either transfer the ground beef and rice to another dish for broiling or use one of the Instant Pot air fryer attachments to broil in the pot. Don’t quote me on this, but I’m assuming the stainless steel pot from the Instant Pot is oven safe.
To prepare on the stovetop, use an oven safe skillet and follow the recipe as written. Instead of pressure cooking the rice, add the broth and rice all the same and cook for 6-8 minutes over medium heat until the mixture thickens. Add the cheese and broil in the oven.
And that should cover it. If you have a question I didn’t cover, drop a comment below. And if you enjoy this Ninja Foodi ground beef and rice casserole, I’d appreciate a recipe review!
Ninja Foodi Ground Beef and Rice Casserole
Ingredients
- 1 lb Ground Beef, 96/4
- 1-2 Tbsp Chili Powder, to spice preference
- 1/2 Tbsp Garlic Powder
- 1/2 Tbsp Onion Powder
- 1 tsp Smoked Paprika
- 1 tsp Kosher Salt
- 1/2 tsp Cumin
- 1/2 tsp Dried Oregano
- 1/4 C 60g Tomato Paste*
- 1/4 C 60g Lime Juice (about 2 small limes)*
- 2 C 480mL Chicken Broth
- 7 oz bag Cilantro Lime Right Rice**
- 4 oz 112g Shredded Cheddar Cheese
Instructions
- Cook the ground beef using the Foodi's sauté function on high. Add the dry spices towards the end of cooking. Add the lime juice and tomato paste once the ground beef is fully cooked, stirring everything together.
- Turn of the Foodi and add the chicken broth and Right Rice. Stir well.
- Seal the Foodi and cook with high pressure for 5 minutes with quick release pressure (vent immediately).
- Stir the ground beef and rice before adding the shredded cheese on top. Use the Foodi's broil function for 3-5 minutes until the cheese is melted and bubbly.

Hi Mason. If I want to do this without the rice, do I still need to do the broth and pressure cooking step? If so, how much broth? Thanks.
The beef would be fine if you just cooked it with the tomato paste and lime juice, but you could still add a cup of broth or water and reduce that down if you wanted. And if you’re skipping the rice, you might pull back on the cheese by an ounce or two. No problems with keeping it extra cheesy, though!
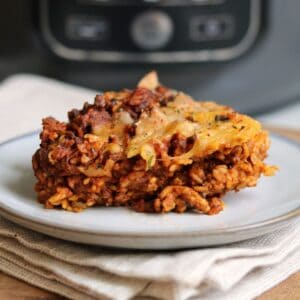
My husband, daughter and I loved it (she’s 8 so she’s a tough critic)! I especially loved that the whole process was made in the Foodi! Definitely will make again!!
⭐️ ⭐️⭐️⭐️⭐️ HOLY DELICIOUSNESS!!! We made this tonight and it’s one of our new faves! Super friendly too for Shredsville
. I added some veggies with mine. Robust flavor and easy to make!
The instructions never say when to put in the lime juice or the tomato paste. I assumed it was when you af the chicken broth and it worked well. Great recipe! My picky 3yr old loved it, even when I added frozen veggies!
Oops! Good catch. It was in the post but not the recipe card. Thanks!
I made this with the half cauliflower rice/half white rice combo like the mexi Beef & Rice skillet. So good! Cooked it all in my cast iron skillet and popped it in the oven. Great weeknight meal!
This is delicious! This is the first thing I made when I bought my ninja foody. Hubby and I loved it. I subtitled Right Rice with regular instant rice. Adding sour cream on top makes a huge different. It makes it taste 10 times better.
I prep this one at least once a month!
Can you use regular rice? I don’t have instant
Regular rice should work fine. I would just increase the liquid according to the packaging and pressure cook about the same time. It may take a little tinkering to get it just right, but you can always put the lid back on to finish cooking if the rice needs longer.