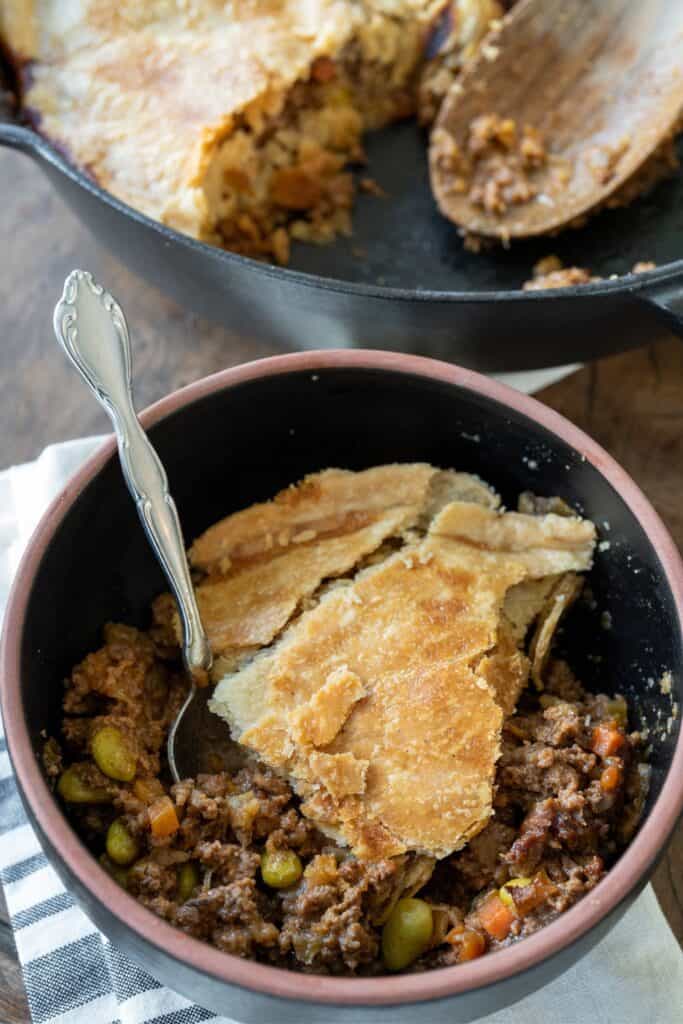
This one skillet, one crust ground beef pot pie combines a ready-to-bake pie crust with extra lean ground beef and vegetables. Using a pre-made refrigerated pie crust makes this recipe super easy to make. And using just a top crust keeps the calorie count under control, so you can have your pot pie and eat it, too.
Ground Beef Pot Pie Filling
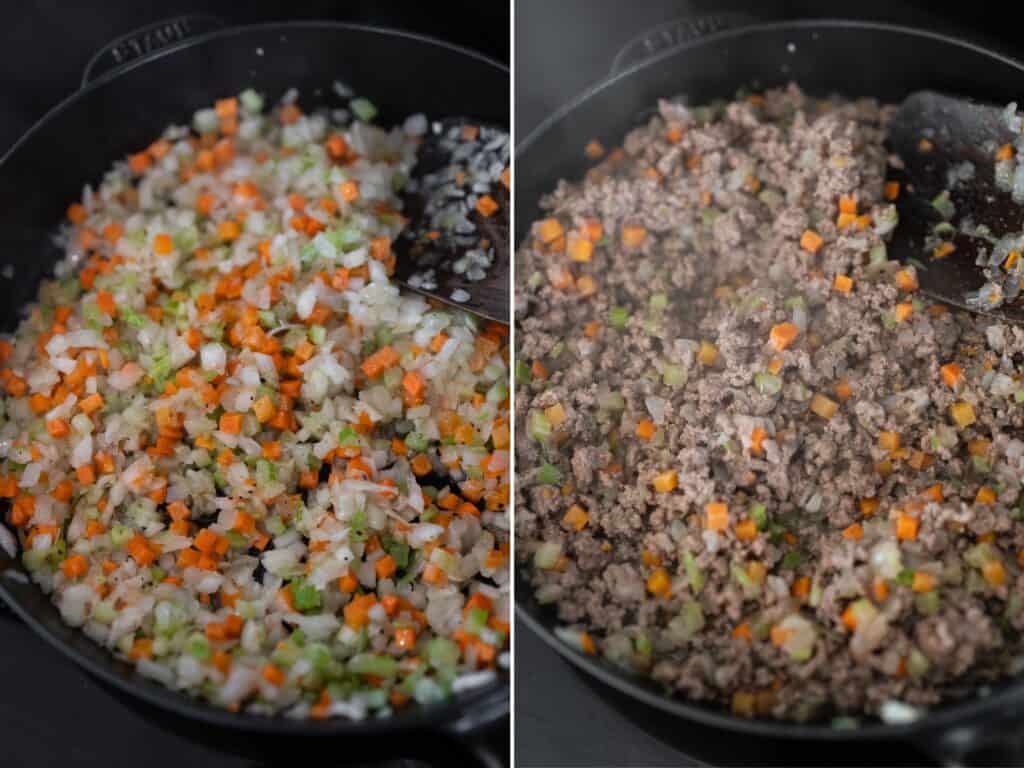
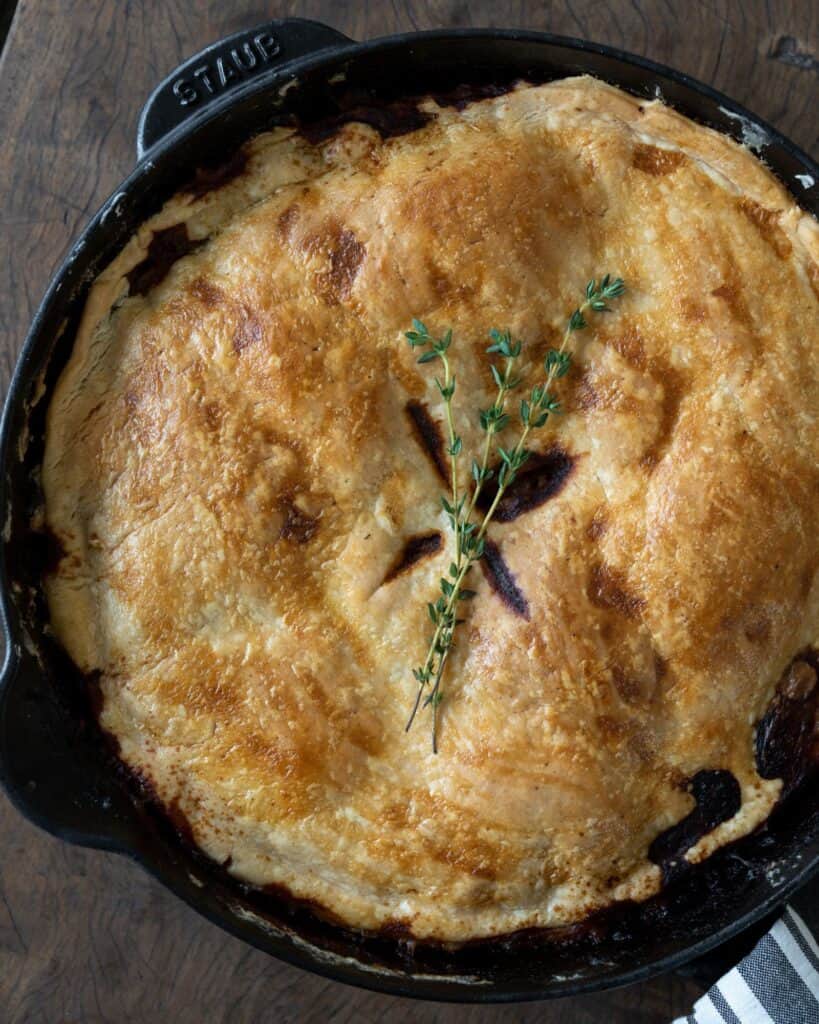
Like many great dishes before it, the filling for this beef pot pie begins with a blend of onion, carrot, and celery. While you can transfer the cooked filling to a separate baking dish, I like to start with an oven safe skillet and keep everything in one pan. I used an 11″ cast iron skillet, for size comparison.
Adding salt, pepper, and garlic powder to the veggies obviously seasons the filling, but the salt will also draw moisture out of the vegetables to help them sweat and soften. You’re not looking to pick up color or brown the veggies or ground beef in this recipe.
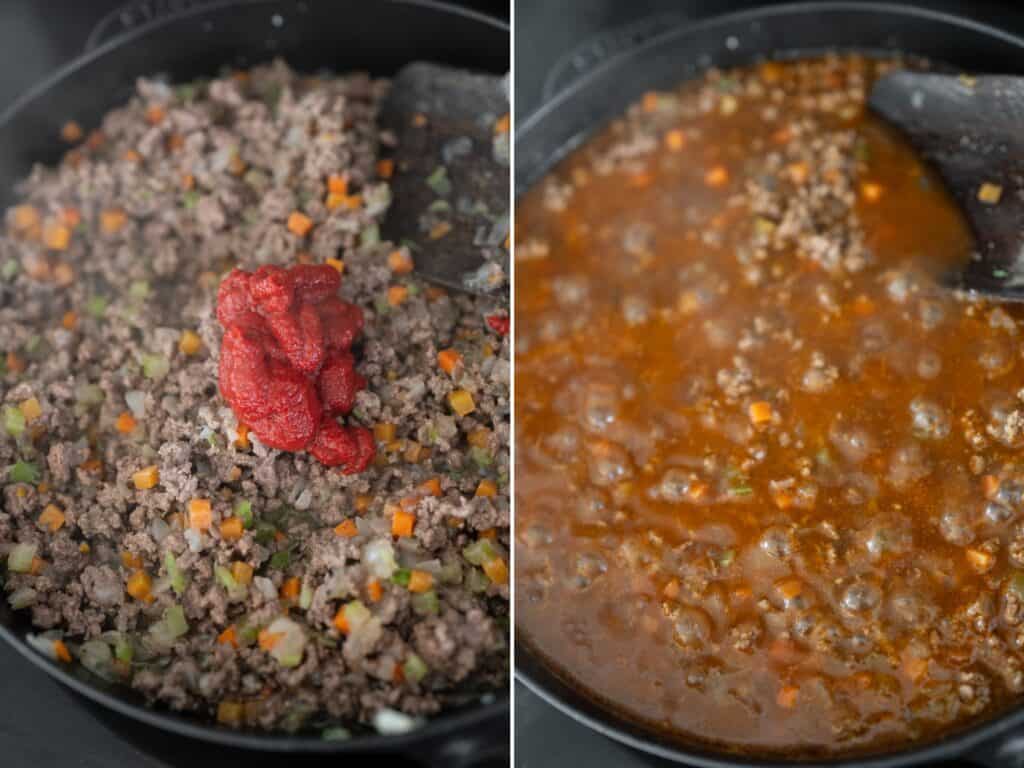
Once the ground beef is fully cooked, you’ll add double concentrated tomato paste and cook until it begins to caramelize. This develops flavor and gets rid of the “raw” taste of tomato paste.
Follow the tomato paste with beef broth, balsamic or red wine vinegar, and Worcestershire sauce.
The filling only simmers for 8-10 minutes, but I like to add some thyme and bay leaves. Just be sure to remove any stems and leaves before adding the pie crust.
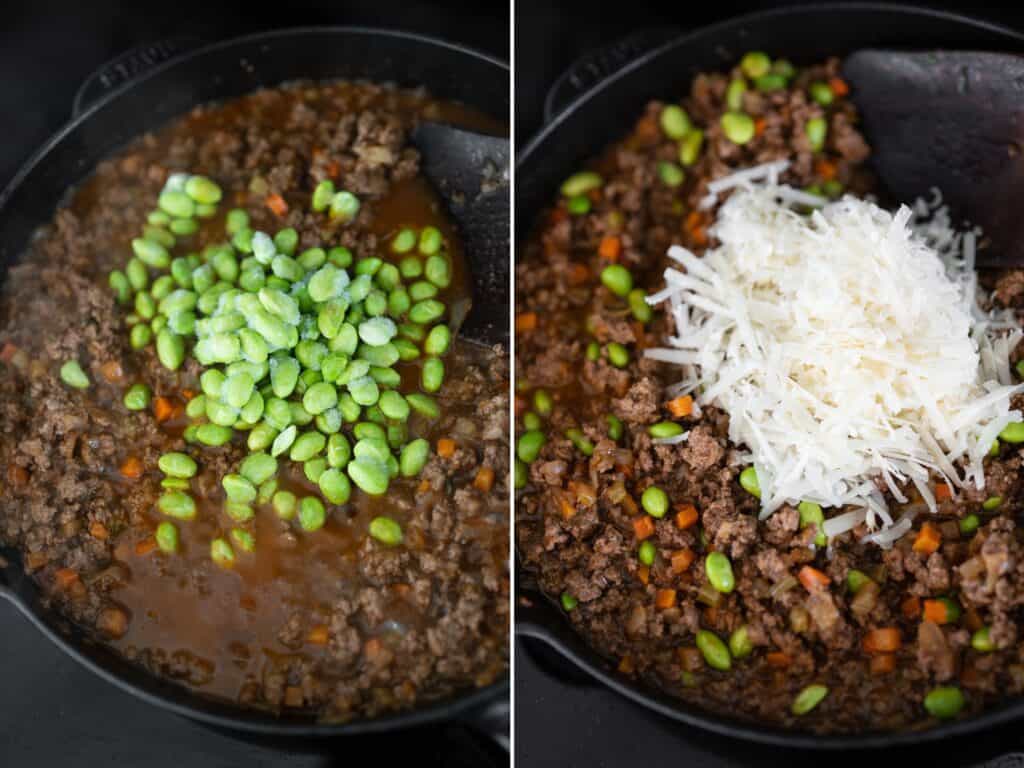
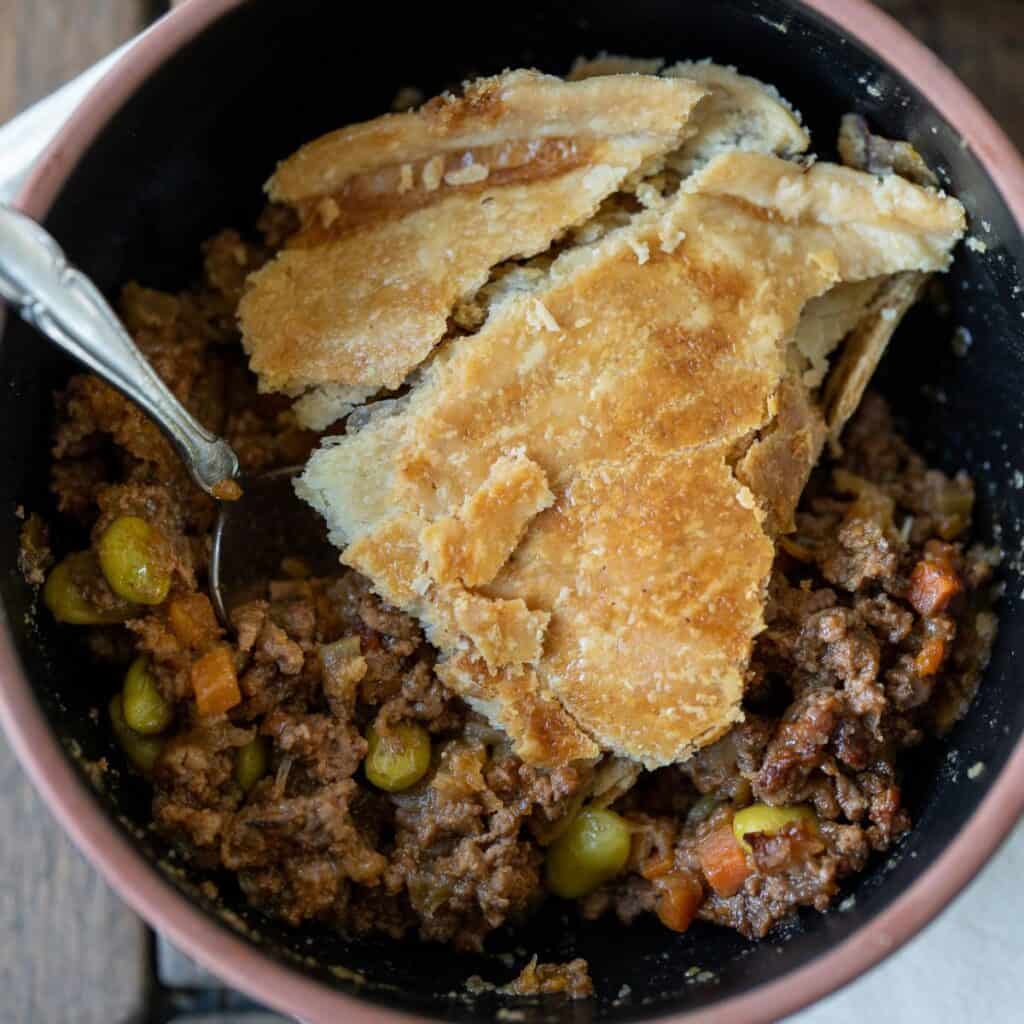
Once the ground beef filling is mostly reduced, you can turn off the heat and stir in frozen shelled edamame or green peas and freshly grated Pecorino Romano or parmesan cheese.
You’ll see a note in the recipe card below about making a more slack filling by adding more broth to the filling. This comes down to personal preference. If you like a more soupy, stew-like filling, you’ll want to add a bit more broth (about a cup) than the recipe calls for.
Pot Pie Crust
Be sure to let the skillet cool briefly before adding the crust, as you’ll need to press the crust against the edges of the pan.
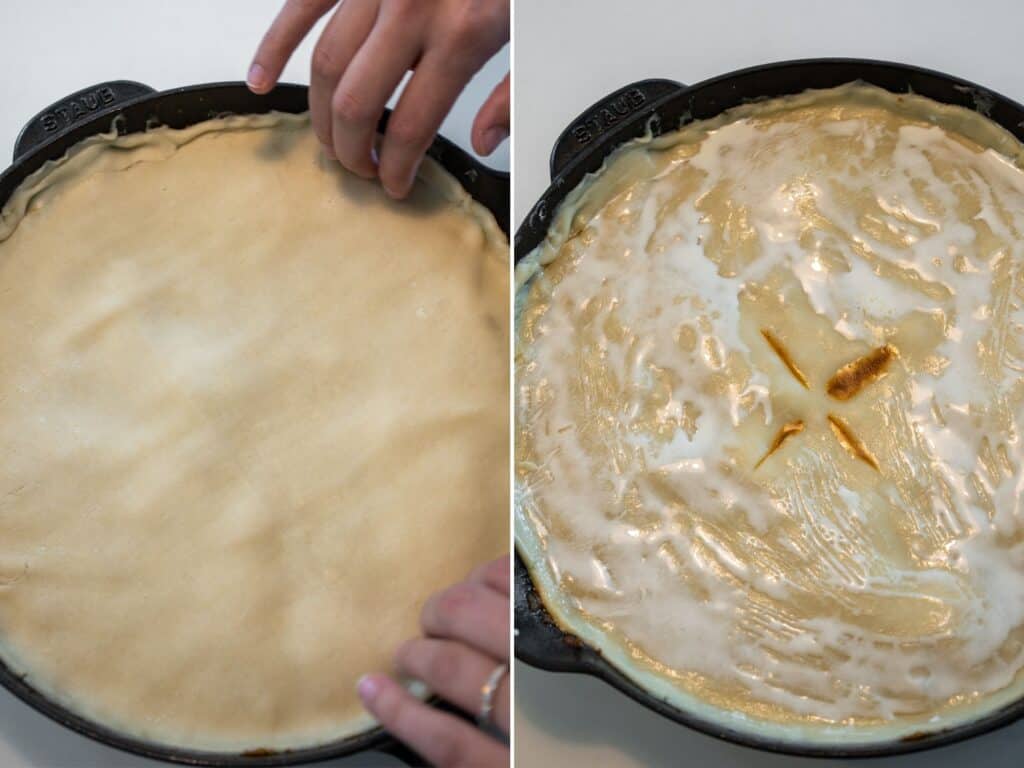
You’re welcome to get cute with crimping around the edges, but I like to make contact, cut slits to vent, brush with milk or cream, and get the ground beef pie in the oven. If you’re using a smaller skillet or transferring the filling to a 9″ pie pan, you may have a bit more excess to fold and crimp around the edges.
If you have a Dutch oven, that works as well. See my Dutch oven chicken pot pie for a reference on bake time and all that good stuff.
I’ll also mention the possibility of making individual pot pies. Just transfer the ground beef filling to oven safe ramekins and use a biscuit cutter or knife to cut the pie crust to fit over the top of each. Don’t forget to vent them and be aware that cooking time will vary.
Beef Pot Pie Calories and Healthy Pie Crust Alternatives
While there are some low calorie pie crust recipes out there, most would be a better fit for fruit pies instead of a hamburger pot pie. You want a buttery, flaky crust with pot pie, and that’s hard to replicate.
Not to mention, the nutrition facts of homemade “healthy” pie crusts and something like a Pillsbury refrigerated crust are roughly equal. Pillsbury even wins the calorie battle in some cases.
One compromise that does work, however, is the use of reduced fat crescent rolls. I used a roll to make my rotisserie chicken pot pie and was quite happy. I also considered using my Greek yogurt biscuits to make a biscuit topped ground beef pot pie, but that’s another scenario of the calorie difference being insignificant.
The bottom line: If you’re going to make this ground beef pot pie, let the calorie reductions take place in the filling, not the crust.
My Final Thoughts on Making Pot Pie with Ground Beef
Part of the beauty of pot pie is that it’s a full meal in savory pie form. You could pair this meat pie with a light salad to add some volume to your meal and call it a day.
Since we’re keeping things kinda healthy around here, I didn’t mention using a second crust for a fully enclosed meat pie. I think this beef filling would work great for that, but I would definitely add the extra broth. The extra lean ground beef and limited moisture might become too dry with double the crust.

Ground Beef Pot Pie
Ingredients
- 1 Tablespoon Olive Oil
- 2 Yellow Onions, diced
- 2 Celery Ribs, diced
- 2 medium, 3 oz Carrots, peeled and diced
- 1 1/2 teaspoon Kosher Salt
- 1/2 teaspoon Black Pepper
- 1 teaspoon Garlic Powder
- 1 1/2 pound Ground Beef, 96/4
- 1/4 cup 60g Tomato Paste
- 2 cups Beef Broth
- 2 Tablespoons Balsamic Vinegar
- 2 Tablespoons Worcestershire Sauce
- 3-4 Fresh Thyme Sprigs and Dried Bay Leaves, optional
- 2/3 cups 100g Frozen Shelled Edamame (or green peas)
- 2 oz Pecorino Romano or Parmesan
- 1 Ready-to-Bake Pie Crust
Instructions
- Preheat your oven to 400ºF and heat an oven-safe skillet with the olive oil over medium heat. Once hot, add the veggies, salt, pepper, and garlic powder.
- Cook for 3-4 minutes until the veggies begin to soften before adding the beef. Break the beef apart and fully cook. (You're not looking to brown the beef or veggies.)
- Once the beef is fully cooked, add the tomato paste and stir everything together. Cook until the tomato paste begins to caramelize, about 1-2 minutes, before adding the broth, vinegar, and Worcestershire. (Optional: Add thyme sprigs and bay leaves.)
- Bring to a boil before reducing to a simmer. Cook uncovered until the broth is mostly reduced, about 8-10 minutes. Fold in the edamame and cheese.
- Let the pan cool briefly before adding the pie crust, pressing it into the edges of the pan. Cut small slits to vent the pie and lightly brush the crust with milk or cream and bake for 40-50 minutes until golden brown.


This was delicious! I don’t know how you did it, but the “sauce” tastes like a burgundy wine sauce yet a little thicker (all in a great way!) Did not miss the bottom crust at all. I used Asiago cheese because we ran out of Parmesan- who runs out of Parmesan?!? Mason- you did it again! 5 out of 5 for me
Thank you! Exactly what I was going for. Hopefully you’ve replenished your cheese stash ahead of the holiday charcuterie season.
This is delicious. I found 2 cups of broth to be far too much, so I’d suggest starting with only 1 cup and going from there. I also like just making the filling and putting a biscuit on the side when it’s served- much quicker to make.
Delicious! I doubled the peas, carrots and celery to bulk it out and swapped the pastry for a layer of sweet potato mash.
Reheated perfectly the next day, will be adding it to my meal prep rotation.
So good! Forgot to add the peas and I was out of parmesan so I have an excuse to make this again sometime soon haha. Thanks for the delicious recipe!
How have I not raved about this recipe yet? I have been making it for over a year and it is by far one of my favorite savory pies. The flavors that come together are the bomb! Perfect for my macros too – and I feel like I’m indulging with the crust. Bonus- it’s just for me so I get to eat all week long and I don’t get tired from it one bit! Thanks Mason! Welcome to the area too.