
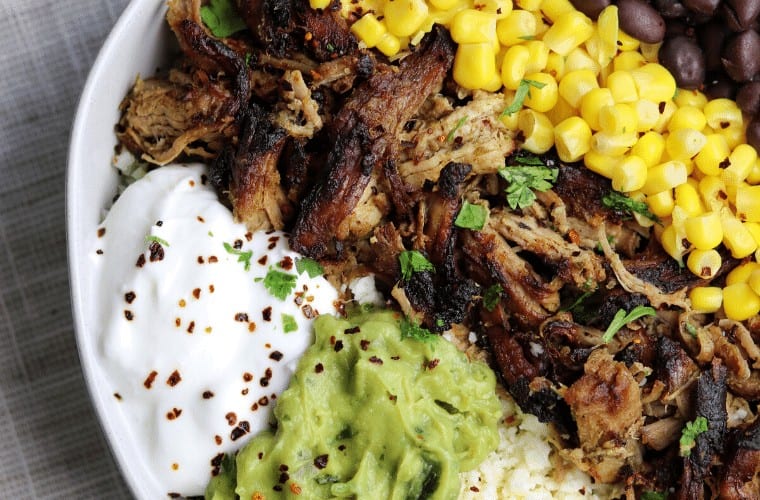
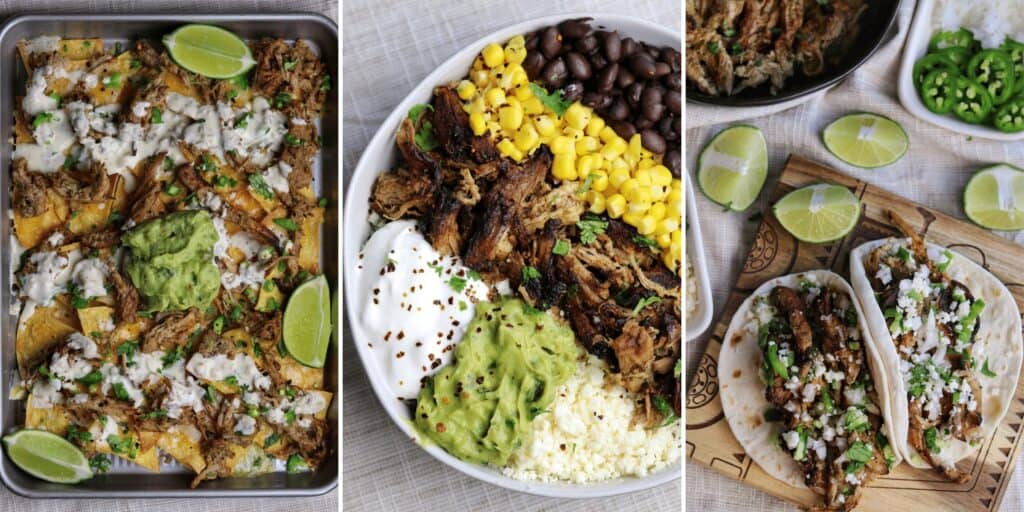
This crispy carnitas recipe is one of the best meal prep recipes on my blog. You can make tacos, burritos or bowls, nachos, salads, and all kinds of dishes with this Mexican pulled pork.
Every serving is packed with flavor and 24 grams of protein with just 4 grams of carbs, 6 grams of fat, and 3 WW Smart Points. That leaves tons of room for tortillas, cheese, and other fixin’s!
Ninja Foodi Carnitas Recipe Walkthrough
Thanks to the Foodi, this is an easy recipe that stays in one pot aside from a little prep and shredding the pork. And the ingredient list is a simple one so I doubt you have many questions. Still, I’ll touch on any potential ingredient modifications as we go.
Step 1: Coat Pork Tenderloin(s) in Olive Oil and Carnitas Seasoning
You can do this in a bowl like the recipe calls for or by hand on a cutting board like I initially did with my Ninja Foodi bbq pulled pork recipe. I think I like the bowls better because you can add what I’m calling a flavor potion in step 2 to make sure no oil or spices go to waste.
It’s also a great way to keep your hands clean!
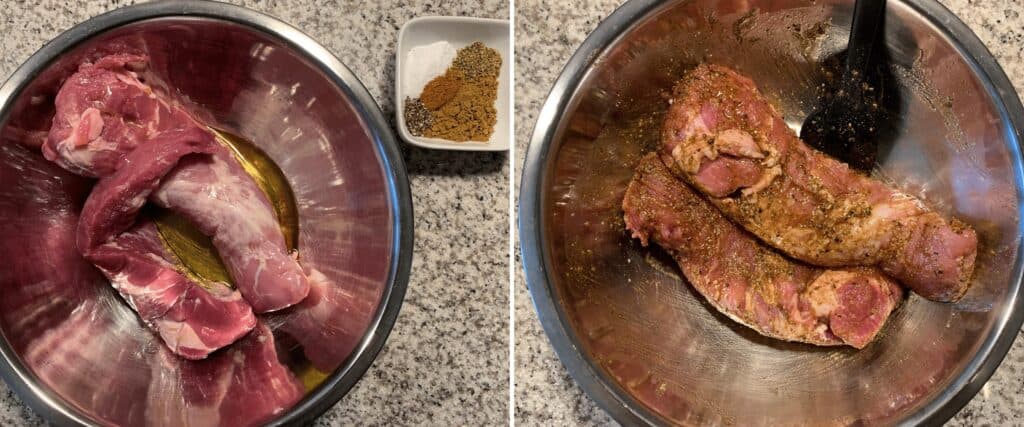
Here’s what you’ll need for the carnitas seasoning:
- salt and pepper
- cumin
- oregano
- cinnamon
The only notes I’d add here would be on the salt and cinnamon. If you’re using table salt as opposed to kosher salt like the recipe calls for, you’ll want to cut it in half. And if you’re wondering about the cinnamon, just trust me. (But yes, you can leave it out.)
Step 2: Make a Flavor Potion for Pressure Cooking
I know lots of my readers love simplicity and appreciate shortcuts. So, I figured this route would alleviate any need for chopping veggies and work loads of flavor into the recipe all at once.
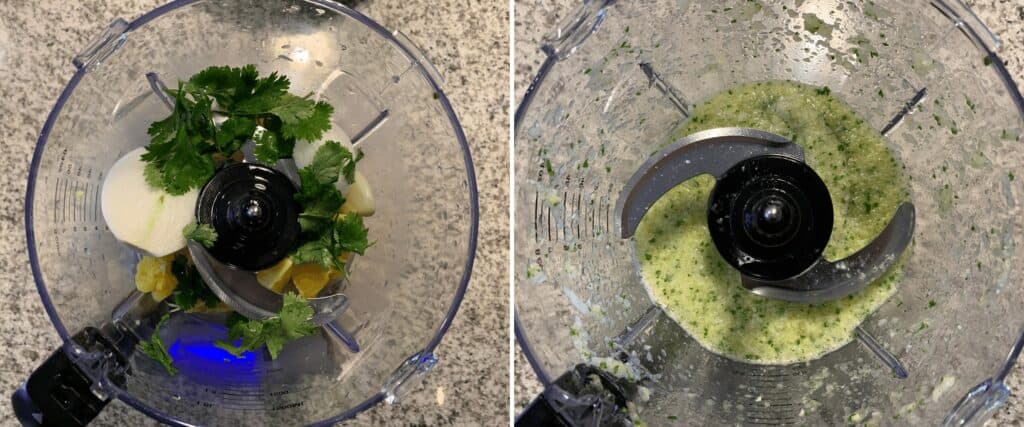
Add the following to a food processor:
- onion
- orange
- garlic
- cilantro
- chicken broth
If you don’t have broth on hand, you can use water. And if you’re a cilantro hater, just leave it out!
Step 3: Sear the Pork Tenderloin with the Foodi’s Sauté Function
That’s it for ingredient prep. Now it’s time to cook.
The only thing you can mess up in this step is not letting the pot heat up enough before adding the pork tenderloin. You can flick a little water in the pot to test the heat. If it sizzles, you’re probably good to go.
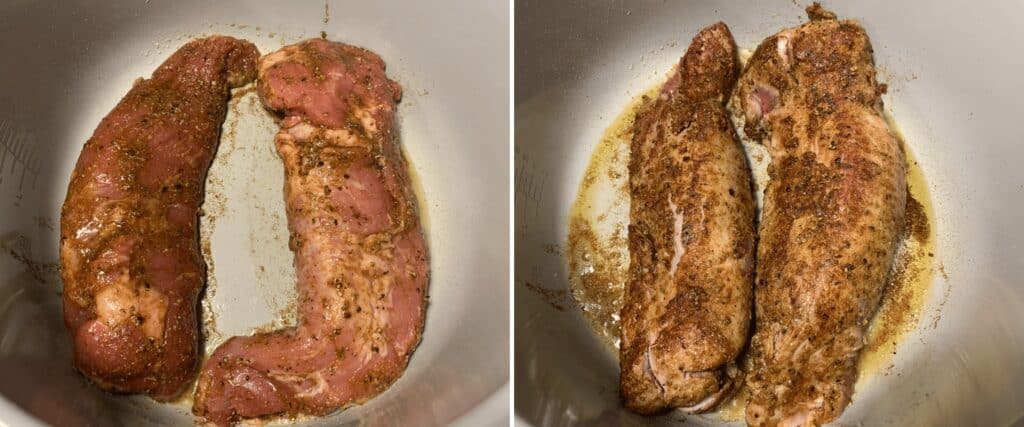
Sear each side of the pork tenderloins for 2 minutes. Nothing fancy here.
Step 4: Add the Flavor Potion and Pressure Cook
Pour the blended ingredients into the pot around the edges and move the pork around to fully coat the bottom of the pot. Seal and cook with high pressure for 12-14 minutes.
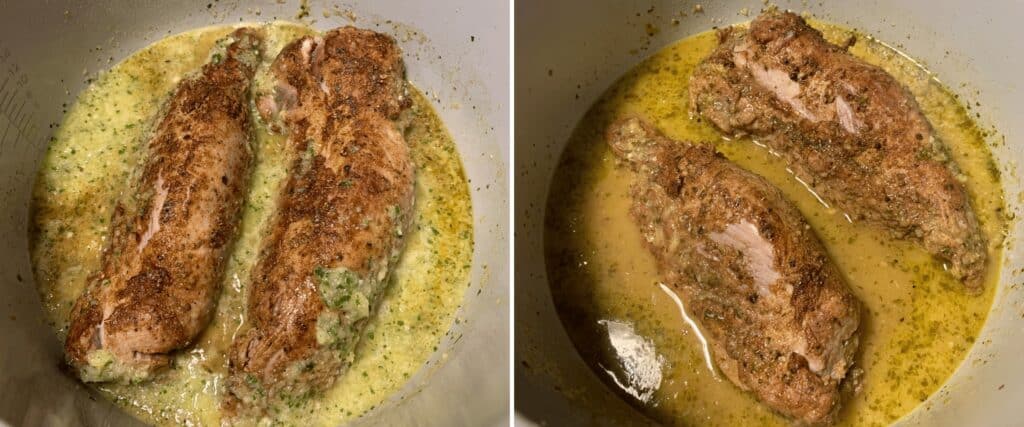
I hate to give a time range, but every pork tenderloin (and user) is different. If you have a food thermometer and the pork hasn’t reached an internal temp of at least 160F, you can seal and cook for another minute or two.
Note: If you want to make a smaller batch with just 1 pork tenderloin, follow the recipe as written but cut the chicken broth in half. The cook time should be about the same.
Step 5: Reduce the Remaining Liquid while You Shred the Pork
Like I mentioned in my buttermilk pan fried chicken breast recipe, letting your proteins rest for at least 5 minutes after cooking is always a great idea. Even though you’ll be mixing the pulled pork back in the remaining liquid before broiling, letting the meat rest will make shredding much easier.
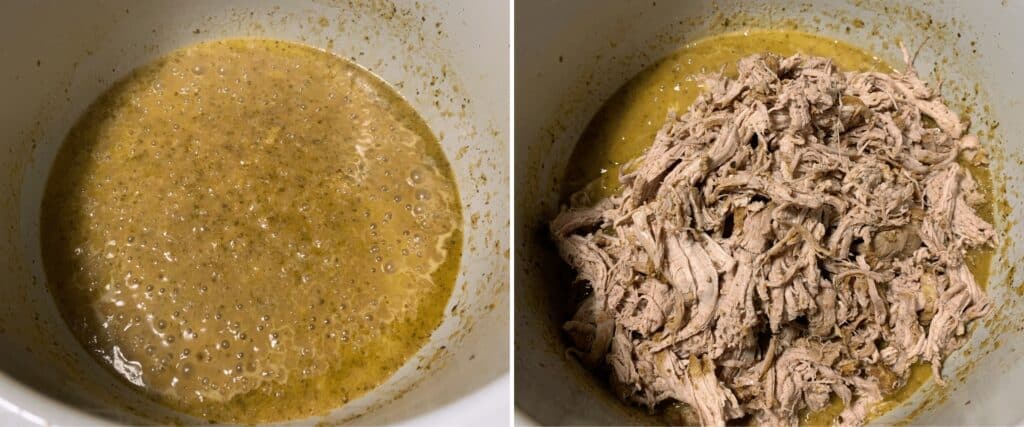
As for reducing the remaining liquid, you want carnitas, not pulled pork soup. It doesn’t have to be a flawless sauce, just reduce it long enough to thicken. If you let the pork rest and then shred (about 8-10 minutes total), it should be perfect timing.
Bonus tip: Meat claws make shredding cooked meat so much easier.
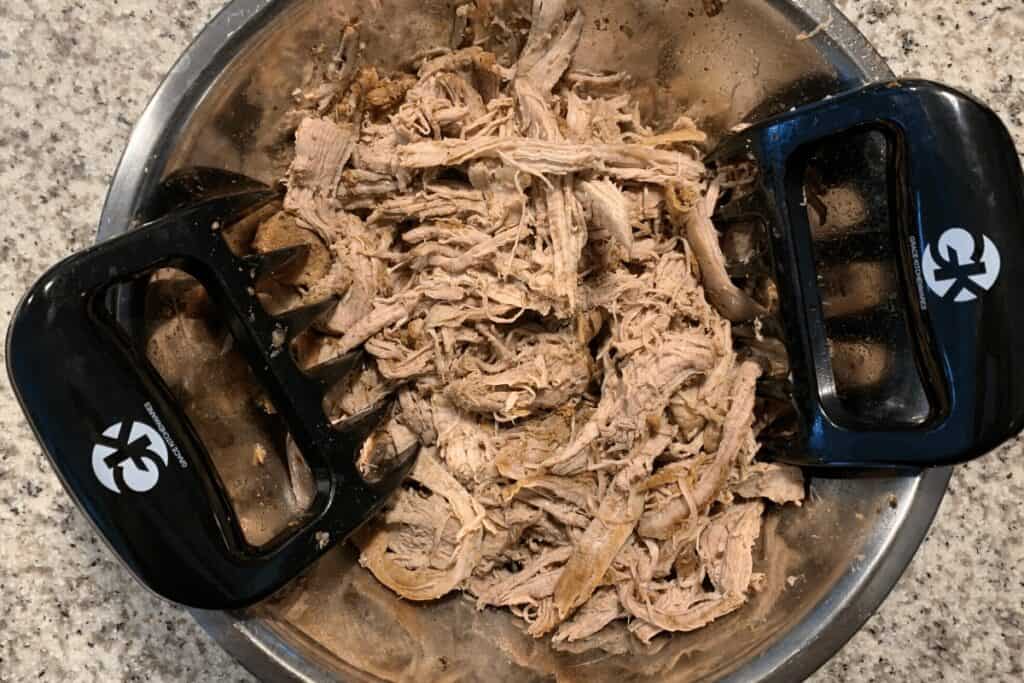
You can find the meat claws I use, along with all my other recommended kitchen equipment, on my Amazon storefront. Other shredding options include the classic two fork method or a stand mixer with a paddle attachment.
Step 6: Use the Foodi’s Broil Function to Make Crispy Carnitas
This is an optional but highly recommended step. Not only does it create crispy edges, the pork soaks up all the remaining juices during broiling. I did it for the BBQ pulled pork I mentioned earlier as well as my Ninja Foodi Greek chicken breast, and I’ll probably continue doing it for every protein I prep in the Foodi.
If you want even crisping, you can stir halfway through or broil in two batches.
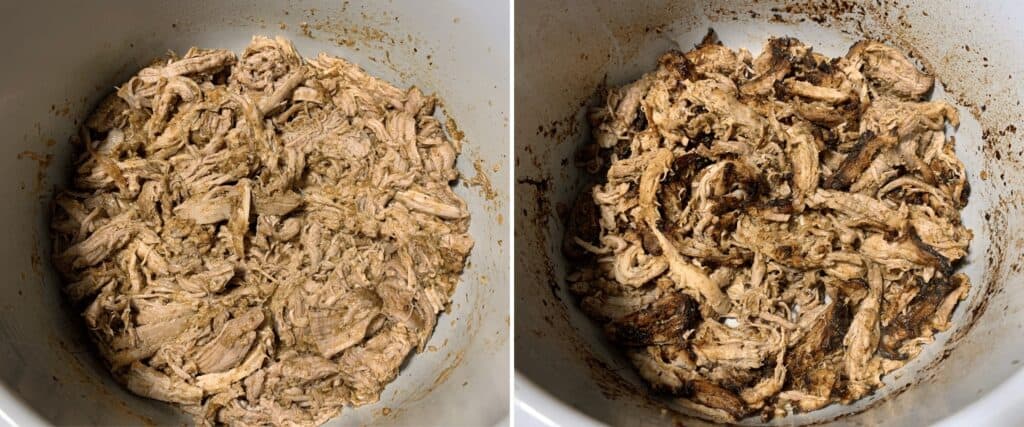
If you’re using an Instant Pot or slow cooker, you can transfer the pork to a baking sheet lined with aluminum foil and use your oven’s broil function.
How to Serve Your Crispy Carnitas
Idea time!
- nachos with homemade thin corn tortilla chips
- the tacos pictured are on street taco tortillas with diced onion, jalapeño, cotija cheese, cilantro, and lime juice (the salsa macha from my chicken carnitas tacos is another great addition)
- you could swap carnitas for beef in my cheesy beef baked tacos or chicken in my air fryer taquitos or air fryer quesadillas
- with smoked charro beans or air fried Mexican potatoes
- roasted corn salsa like I served with my pressure cooker barbacoa beef or my spin on esquites
Let me know what you end up doing with your pork tenderloin carnitas! Snap a pic and tag me on Instagram @mason_woodruff or share it with my Facebook group.
Ninja Foodi Crispy Pork Tenderloin Carnitas
Ingredients
- 2 Pork Tenderloins, 16oz each
- 2 Tbsp Olive Oil
- 1 Tbsp Cumin
- 2 tsp Kosher Salt
- 1 tsp Black Pepper
- 1 tsp Oregano
- 1/2 tsp Cinnamon
For Pressure Cooking
- 1 small, 140g Onion, peeled and halved
- 1 small, 100g peeled Orange, halved
- 2 cloves 10g Garlic, peeled
- 1 handful, 3g Cilantro
- 1/2 C 120g Low Sodium Chicken Broth
Instructions
- Place the pork tenderloins in a large bowl with the olive oil. Mix the dry spices together before sprinkling over the pork. Use a rubber spatula or your hands to evenly coat the pork in the oil and spices. Set aside.
- Add the onion, orange, garlic, cilantro, and chicken broth to a food processor and blend until smooth, about 30 seconds on high.
- Turn the Foodi's sauté function on HI and let the pot heat up. Once hot, add the pork tenderloins. Cook for 2 minutes before flipping and cooking another 2 minutes.
- Add the pressure cooking ingredients to the pot, moving the pork tenderloins around to evenly coat the bottom of the pot with the mixture. Seal the Foodi and pressure cook on HI for 12-14 minutes* with quick release pressure. The pork should reach an internal temp of 160F at its thickest point. Transfer the pork tenderloins to a bowl to rest for 5 minutes before shredding.
- While the pork rests, turn the Foodi's sauté function back to HI to reduce the remaining liquid to a thick sauce, stirring occasionally.
- After the pork rests, shred and add back to the pot with the thickened sauce. Stir to evenly coat and use the Foodi's broil function** for 10-15 minutes for crispy edges.
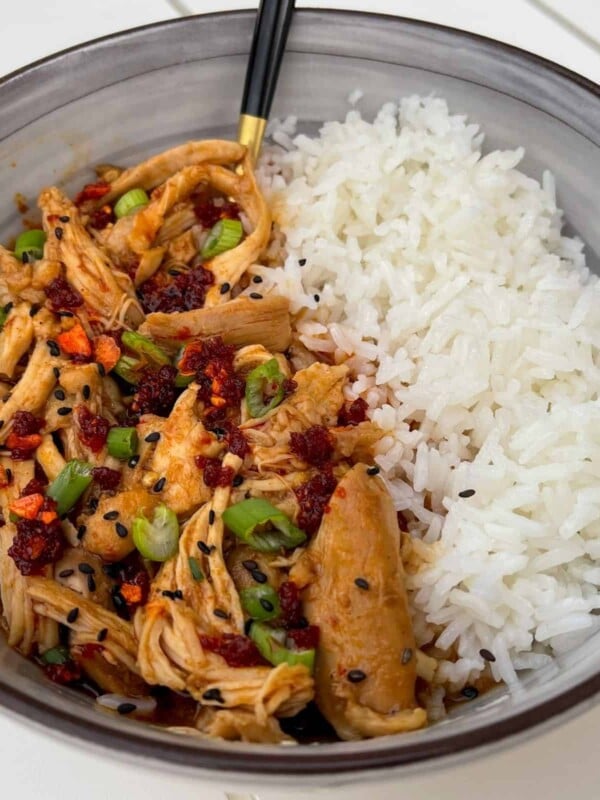

These were so good, I made so many meals with this. I made tacos, a rice bowl, and a Mexican salad. I added a Jalapeno on the marinate sauce to make it a bit spicy. I would probably just omit the cinnamon because I feel like it gave it a slight sweet taste and I didn’t really like it. But otherwise it was really good. Since I didn’t have an instant pot, I just cooked it on the stove on low heat for a couple of hours and it was still good.
These carnitas are the bomb! My fav form of tacos now!
This recipe is why I have a pork tenderloin always on hand. Delicious!
That cilantro sauce is the best! I adore this recipe despite the fact that I’m not a huge pork tenderloin fan. It works really well for nachos or a rice bowl. Sometimes it can be a little salty so I try to be careful with the amount I use but that’s probably because I tend to eyeball things. Overall, great recipe!
That cilantro sauce is the best! I adore this recipe despite the fact that I’m not a huge pork tenderloin fan. It works really well for nachos or a rice bowl. Sometimes it can be a little salty so I try to be careful with the amount I use but that’s probably because I tend to eyeball things. Overall, great recipe!
This was the first recipe I tried when I first got my Ninja Foodi. If this was the only thing I ever made in it, it was worth the purchase! Absolutely delicious!!!
This is one of my favorites! My whole family loved this and we don’t normally eat a lot of pork but this was fantastic! Thank you!
I have never made carnitas before and this recipe was tasty and easy to follow! I have tried a few of Mason’s recipes recently and am impressed with the falvor profiles. Good ratios of seasonings. I had to cook the pork for longer than he called for (I do not have a ninja but used my instant pot) but I think that was due to a sealing issue my cooker was having. We also had enough for left over lunches and it was good reheated. My husband was a big fan!
This was one of the first recipes I tried. It is full of flavor. I’ll use the spices and marinade for other meats too. I had to use the broil function in my over and it still came out great.
This recipe blew my mind. Reading the ingredients list, I wasn’t sure how this would turn out… the flavor profiles are amazing. Just the smell of it cooking now makes my mouth water. I have given this recipe out to countless friends and they all love it and keep it on repeat. Make these carnitas!!